
Agrotechnology of cultivation and propagation methods for sorrel and rhubarb
18 min read
The best large-leaf sorrel cultivars are Maikopsky, Shirokolistny, Belvilsky, and Odessky 17. Rhubarb is grown in the same place for seven years or more, depending on how well the quality of the petioles is maintained; new plants are also added annually. Rhubarb is propagated by seed and rhizomes. Rhubarb is a cold-hardy plant; seedlings tolerate spring frosts down to —7° C in calm weather, seeds germinate at 2—3° C, and the optimal temperature for leaf growth is 12—15° C. When propagating by seed, they are sown in open soil in a well-fertilized bed in early spring and summer for transplants, but it is better to sow seeds before winter, when transplants are ready for planting in August and are significantly more robust. In the spring, one week after emergence, they are top dressed with mullein diluted 8 times with water, or slurry (1:6), or poultry manure (1:20). Three weeks after emergence, during thinning, 10—20 plants with thick petioles are left per 1 m2 at a distance of 20 cm between them and are top dressed again with nitrogen-potassium fertilizer, preferably potassium nitrate (three tablespoons per bucket of water). Two to three weeks later, the top dressing is repeated with the same fertilizers. Care for transplants consists of maintaining the soil in a moist condition and loosening it after each irrigation and rain. Before planting the transplants, holes 30 cm deep and in diameter are made in the prepared area at a distance of 1 m between them, and a bucket of humus or compost is added to each, placing it in a mound as when planting nursery plants. In early August, on a cloudy day or in the evening, the transplants are carefully dug out with garden spades, trying not to damage the roots, their roots are dipped in a clay mash and planted in moist soil, spreading the roots over the mound of compost. The planting depth should be such that the apical bud remains at the level of the soil surface. If the bud is deeper, it will rot, and if higher, it will dry out. Annually, after the snow melts, the plants are top dressed with nitrogen fertilizers (a tablespoon per plant), and then after each harvesting of petioles — with nitrogen-potassium fertilizers (half a cup of mixture per bucket of water per plant), and, in addition, the plants are top dressed in August. There is no need to use phosphorus fertilizers, as they are sufficient in the compost, and an excess of phosphorus causes premature flowering of the plants. In autumn, the plants are covered with compost, which serves as both protection for the buds from frosts and as fertilizer. Rhubarb can also be propagated by rhizome division. They are taken from four- to five-year-old plants, selecting the most productive, low-flowering plants with the best-tasting petioles. The rhizomes are cut on the day of planting with a sharp knife into four-five parts with one or two well-developed buds on each part of the rhizome. The central part of the rhizome is not used for planting, as it produces abundantly flowering plants and a lower yield, but rather the side parts are used. The cuts are sprinkled with charcoal or ash and planted in prepared holes at the same distance as the transplants, with the buds covered with a layer of compost or humus of no more than 1—2 cm. Rhizomes can also be planted in August; in this case, the area where rhubarb rhizomes are planted must be regularly irrigated and the plants top dressed with potassium nitrate. For the winter, the plants are hilled. In subsequent years, care for the plants consists of top dressing, irrigation, and loosening the soil, keeping in mind that with a shortage of moisture and nutrients, the leaves become smaller, the petioles coarsen, become fibrous, and less succulent. Harvesting of petioles can begin in the spring of the following year, but no more than two or three leaves with a petiole length of 20 cm should be cut from one plant; in subsequent years, all leaves with 30 cm long petioles are harvested every ten days, continuing the harvest until the end of June. Each leaf is not torn off, but carefully broken off in the morning after the dew has evaporated, then the leaf blade is cut off immediately so that the petiole does not lose its succulence. Flowering shoots are broken off at the very base as they appear. In the autumn, dead leaves are removed carefully so as not to damage the buds. The best rhubarb cultivar is Ogrsky 13, which has petioles up to 90 cm long and up to 4 cm thick. This cultivar bolts less than others. The Moscow 42 and Konservny zeleny 47 cultivars are good. The well-known English cultivar Victoria gives lower yields, is more prone to plant flowering, and has a higher content of oxalic acid.
Growing asparagus is a long-term project: with proper care, a plantation produces high-quality green shoots for 10 years or more. Yield directly depends on nutritional conditions. The better the soil is amended with organic matter, the more shoots the plant forms. When planning plantings, keep in mind that male asparagus plants produce more shoots, but they are thinner than those of female plants.
- Seed germination temperature — 20 °C
- Time to emergence — 10–15 days
- Seed soaking time — 3 days
- Water temperature for soaking — 25 °C
- Soil temperature for sowing — 12–13 °C
- Productive life span — 10 years or more
To accelerate emergence, asparagus seeds are soaked for three days, changing the water daily. Afterward, they are germinated at the same temperature until they begin to sprout. Prepared material can be sown into open soil when the soil warms up to 12–13 °C. Seeds are placed in water-moistened furrows at a distance of 5 cm from each other with 20 cm between rows. Planting depth is 3–5 cm.
After emergence, asparagus is thinned to leave 10 cm between plants and fertilized with nitrogen fertilizer at a rate of two tablespoons per bucket of water. Transplants remain in the nursery until the following spring. Before winter, they must be covered with a layer of peat or humus up to 8 cm thick.
In spring, transplanting to a permanent location begins. For this, the strongest specimens that meet specific criteria are selected.
- Select plants for planting with five to six stems, a powerful root system, and well-developed dense and thick buds.
- Carefully dig up the nursery plants with a garden fork, trying not to damage the roots.
- Prepare a planting trench up to 35 cm deep and 30 cm wide, place a 20 cm layer of rotted manure at the bottom, and top it with a mound of humus.
- Spread the roots of the transplants over the mound and plant the plants with 30 cm spacing and 100 cm between rows.
- Cover the apical bud with a 5–7 cm layer of humus.
Asparagus rhizomes die off annually in the lower part, while new roots and buds grow on top, moving closer to the soil surface. To avoid damaging them, perform shallow tillage between rows and add fresh humus to the plants every year.
Harvesting of green shoots begins early in the spring of the following year, selecting shoots 20–25 cm high. It is important to complete harvesting before they lose flexibility and become woody. Shoots are cut 2 cm below the soil level. The next day, new ones will grow in their place. For early production, it is best to use the earliest-maturing asparagus cultivar, Argenteuil.
In autumn, the entire above-ground part of the asparagus must be cut, and the crowns covered with a 10 cm layer of humus.
Cultivation and propagation of tarragon
Tarragon is an undemanding and cold-hardy crop that overwinters perfectly in open soil. It can be propagated by seed, but in practice, vegetative methods are used more often: division of mother plants, root suckers, and green cuttings. This allows for faster production of marketable greens.
| Cultivation parameter | Agricultural requirements |
|---|---|
| Seed germination temperature | 10 °C |
| Time to emergence | 10–12 days |
| Optimal growth temperature | 12–15 °C |
| Planting pattern for divisions | 70 × 70 cm or 60 × 60 cm |
For planting vegetative parts, areas with deeply tilled soil are chosen. Work is carried out in the autumn or early spring. Parts of the bush with good rhizomes and buds are planted in pre-prepared holes amended with humus or compost, after which the plants must be irrigated.
When propagating by root suckers, no more than five shoots with parts of the rhizomes are taken from each bush, planting them in the same way as parts of the mother plants. If green cuttings are used for planting, they are cut at the end of June or beginning of July to a length of 10–12 cm and immediately planted in holes containing a 20 cm layer of humus or compost mixed with sand. Cuttings are planted at an incline to a depth of 4–5 cm. After irrigation and until the cuttings take root, the holes are covered with glass or film, and then with cardboard for protection from the sun. When propagating by seed, they are sown early in the spring; however, it should be noted that seeds germinate very slowly, even at 18–20°C taking only 10–12 days. Usually, they are sown for transplants, which are planted out only in the spring of the following year after overwintering; but it is better to sow seeds directly into holes at the permanent location. A total of three to five plants are required, which provide the family with greens for five years or more, until the branches and leaves become coarse. Since tarragon segregates when propagated by seed, seedlings are tasted during thinning, and the best plants are left. Tarragon can be top dressed with a vegetable garden mixture, keeping in mind that an excess of nitrogen fertilizer causes plants to lose their aroma. Harvesting of branches with leaves begins when plants reach a height of 30 cm before flowering, and for pickling spices, flowering shoots are cut. AGROTECHNICS OF PERENNIAL ONIONS A feature of perennial onions is the plants' ability to quickly form young shoots from the leaf axils of the old bulb, producing new bulbs, which by the second or third year intertwine their roots into sods, which eventually leads to self-suppression of the plants, the leaves become coarse, and if basal bulbs form, they are small. Disruption of air access to the soil during crust formation suppresses the plants, therefore loosening the soil after irrigation or rain contributes to a significant strengthening of plant growth. Perennial onions are characterized by increased cold hardiness and a more powerful root system than bulb onions, due to which they overwinter well and start growing while still under the snow. Perennial onions are demanding of moisture, but stagnant water on the soil surface suppresses the plants and subsequently kills them. With a lack of soil moisture, plant growth slows down, they bolt faster, the leaves become coarse, and their taste becomes more pungent. Since perennial onions are grown for greens, they are not demanding of light and can be grown between rows in a fruit orchard, especially since they should not be kept in one place for more than three years due to increased bolting, which leads to deterioration in onion quality. Perennial onions are highly demanding of easily accessible nutrients in the root zone, especially nitrogen, which is necessary for rapid leaf regrowth, so compost with urea (two tablespoons per 1 m2) is applied to the soil during planting, and then the plants are top dressed with nitrogen-potassium fertilizers (one tablespoon per 1 m2). Perennial onions are very sensitive to high soil acidity, especially in the initial growth period. The adverse effect of acidic soil on plant growth is reduced if humus with lime or limed peat is added when sowing seeds or planting onion sods. Welsh onion (bunching onion) has inconspicuous cylindrical bulbs that transition into false stems with hollow leaves (hence the second name of the onion). Plants branch and form many offsets by the end of the first year of life. In the second year, the Welsh onion throws out flowering shoots. Its seeds are somewhat smaller than those of bulb onions. They germinate at 3–5°C. Seedlings appear in 14–18 days; during summer sowing (in July), when they actually need to be sown, seedlings appear much earlier provided that sprouted seeds are sown in moistened furrows and mulched with humus or peat. Welsh onion, with a sowing rate of 1.5 g per 1 m2 and 20 cm row spacing, is not thinned, as dense stands contribute to the formation of thin and tender leaves. With spring sowing, the last harvest of leaves should be done no later than July, and with summer sowing, no harvesting is allowed so as not to exhaust the plants, not to reduce their overwintering stability, and to make it possible to begin earlier harvesting in the spring, no lower than 5 cm from the soil surface. In the spring, after top dressing the plants with nitrogen-potassium fertilizers, it is necessary to loosen the soil with a rake across the rows. Further care for the plants consists, besides irrigation, of top dressing and loosening, and pinching out the embryonic shoots no more than 5 cm long, which contributes not only to improving the quality of the onion but also to increased formation of offsets, and their growth, in turn, suppresses the seed shoots. In the last year of use, Welsh onion is dug up as whole plants with roots in early spring and planted as an intercrop in a plastic greenhouse. Some plants are dug up in autumn and planted in flower pots. By cutting leaves alternately from each pot, you can provide the family with vitamin-rich food throughout the winter. Just do not forget about top dressing and loosening the soil in the pots. Broadleaf chives. Among other onions grown for greens, broadleaf chives stand out for their taste qualities; their ribbon-like, thick, and at the same time tender leaves are significantly less pungent than those of Welsh onion, and they retain their properties until autumn, almost without coarsening. In the second year of life, the plants begin to branch, forming four to five branches, and by the third year 10–15, with five to six leaves forming on each branch, and in the third year, flowering shoots appear a month later than those of the Welsh onion. Broadleaf chives are propagated both by seeds and by division of the bushes. A three-year-old bush is divided into separate bulbs; they are very shortened and are located on a rhizome (base) 25–30 cm in diameter. Each bush produces from 15 to 30 bulbs; they are planted in early spring in furrows with 30 cm between rows and 10 cm between bulbs. When propagating by seed, they are sown, like Welsh onion seeds, in July, but, unlike the latter, the seedlings are thinned first to a distance of 5 cm between plants, then every other plant. Leaf harvesting begins the following spring and ends no later than August. When cutting, the fragility of the leaves should be taken into account—they break easily.
Agrotechnics of perennial onions and soil preparation
Perennial onions — chives and Siberian onion — provide a stable conveyor of early greens. After four to five years, Siberian onion clumps are dug up and divided for transplanting to a new location or used for winter forcing using the bed method. Chives are propagated by dividing turf in summer plantings, as they produce very few seeds. They sprout 5–7 days later than Welsh onions, reaching a height of 25–40 cm. When overgrown, their leaves quickly lose their tenderness and become herbaceous, so the clumps require annual thinning.
Leafy vegetable crops are characterized by a short growing season and dense sowing, which is why they are demanding in terms of soil fertility. It is best to place them after predecessors that have been treated with organic fertilizers. Immediately before sowing, acidic soil is limed and amended with mineral fertilizers — a ready-made garden mixture or nitrophoska. Sowing is carried out on a flat field surface using a four-row or six-row method without forming beds, as soil on beds dries out significantly faster.
- Germination temperature for watercress — from 5 °C
- Optimal growth temperature for watercress — 15–20 °C
- Sowing depth for small seeds — 1–2 cm
- Sowing depth for large seeds — 2–3 cm
- Mulch layer thickness — 2 cm
- Planting scheme for chives — 20 × 10 cm
Siberian onion has an important advantage — it is not damaged by the onion fly. Furthermore, for forcing chives and Siberian onion for greens in greenhouses, sunlight is not required.
Sowing technology and cultivation of early-ripening greens
- Cut sowing furrows on a level soil surface.
- Water the furrows abundantly if natural soil moisture is insufficient.
- Sow seeds to a depth of 1–2 cm for small seeds or 2–3 cm for large crops, adjusting the depth according to the soil type.
- Slightly compact the soil with the back of a hoe for better seed-to-moisture contact.
- Mulch the rows with screened humus or peat in a 2 cm layer.
To obtain uniform emergence of leafy crops, it is necessary to strictly observe the sowing depth and maintain soil moisture. 7–10 days after emergence, a nitrogen-potassium top dressing is applied. It is recommended to thin out crops using a rake across the rows for loosening the soil, or manually by removing every other plant. In the latter case, the seedlings removed during thinning can be used for food.
To optimize spring field work, the method of winter preparation of seed tapes is used. Seeds are glued onto strips of paper using paste or casein glue in three rows with a 4 cm distance between them. The finished tapes are stored rolled into loose coils at room temperature, and in the spring, they are simply laid out in watered furrows and mulched.
| Crop | Distance between seeds on the tape, cm |
|---|---|
| Dill | 1 |
| Watercress, leaf lettuce, parsley (for greens) | 2 |
| Carrot | 3 |
| Chinese cabbage, radish, turnip, beet | 5 |
Watercress and leaf mustard are the earliest leafy crops, which are harvested when the plants reach a height of 6–8 cm before bolting. Watercress seedlings appear in 6–8 days with early spring sowing and in 2–3 days with later sowing dates. To obtain large leaves, watercress seedlings are thinned to a distance of 8–10 cm, and leaf mustard to 10–15 cm. Successive sowings of watercress are carried out every 7–10 days, and mustard every 12–14 days until the summer heat arrives.
At temperatures above 25 °C and long daylight hours, watercress and leaf mustard bolt quickly. Lack of soil moisture impairs their taste, while a deficit of light and excessive density lead to plant stretching.
Peking leaf cabbage of the domestic Khibinskaya cultivar has curly leaves and a small loose head. It starts growing at the same temperature as watercress and leaf mustard, but the optimal temperature for its growth is 18-22°C with sufficient soil moisture. Plants also bolt under long daylight, but the leaves do not lose their tenderness even during flowering. They can be used for food three to four weeks after emergence at a plant height of 8–10 cm. When leaves are cut, new ones grow back quickly. Seedlings should first be thinned to 8–10 cm, then every other plant for consumption. Lettuce. The plants' requirement for temperature conditions is the same as for watercress; at higher temperatures, lack of moisture, and long days, lettuce begins to bolt and prematurely release flower-bearing shoots, its leaves become coarse, and taste qualities deteriorate. Lettuce is demanding of light; under insufficient lighting, plant growth slows down, so it should not be grown in garden aisles or in greenhouses with early sowing dates. Lettuce is also demanding of moisture, however, an excess of it with a lack of air (which occurs with dense plant spacing) leads to rotting of the lower leaves. In this regard, lettuce should be watered moderately, and not from above, but under the root, without wetting the leaves. Lettuce seeds are very small and light; when sowing, they are carried away even by a light wind, so it is better to mix them with sand. Lettuce is also grown by the transplant method to obtain earlier products, but instead of spending time and labor on growing and planting transplants, it is better to sow Peking cabbage seeds as a fast-growing plant that is less demanding than lettuce. There are leaf and heading lettuce cultivars; the latter produce more leaves and do not overgrow for a longer time, with the most delicious part of the plant being the head. The most common leaf lettuce cultivar is Moskovskiy parnikoviy. This cultivar is also grown in open ground. It produces a rosette of leaves a month after sowing and does not require thinning. Zoned heading lettuce cultivars: Mayskiy — its heads are formed 38–45 days after sowing. Seedlings should be thinned first to 8–10 cm, then at the phase
Read next
Greenhouses and covers For gardeners
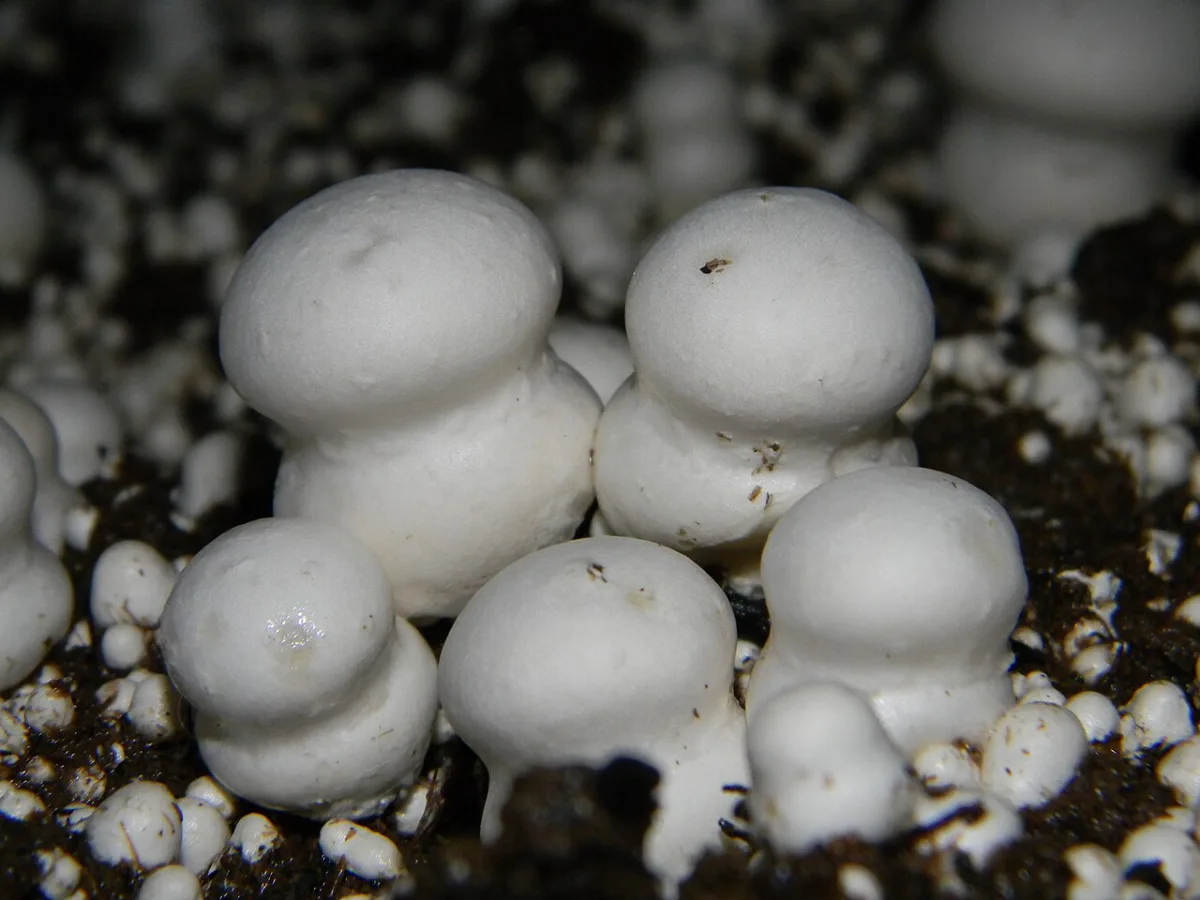
Cultivation technologies for sorrel and mushroom growing in greenhouses
Greenhouses and covers For gardeners
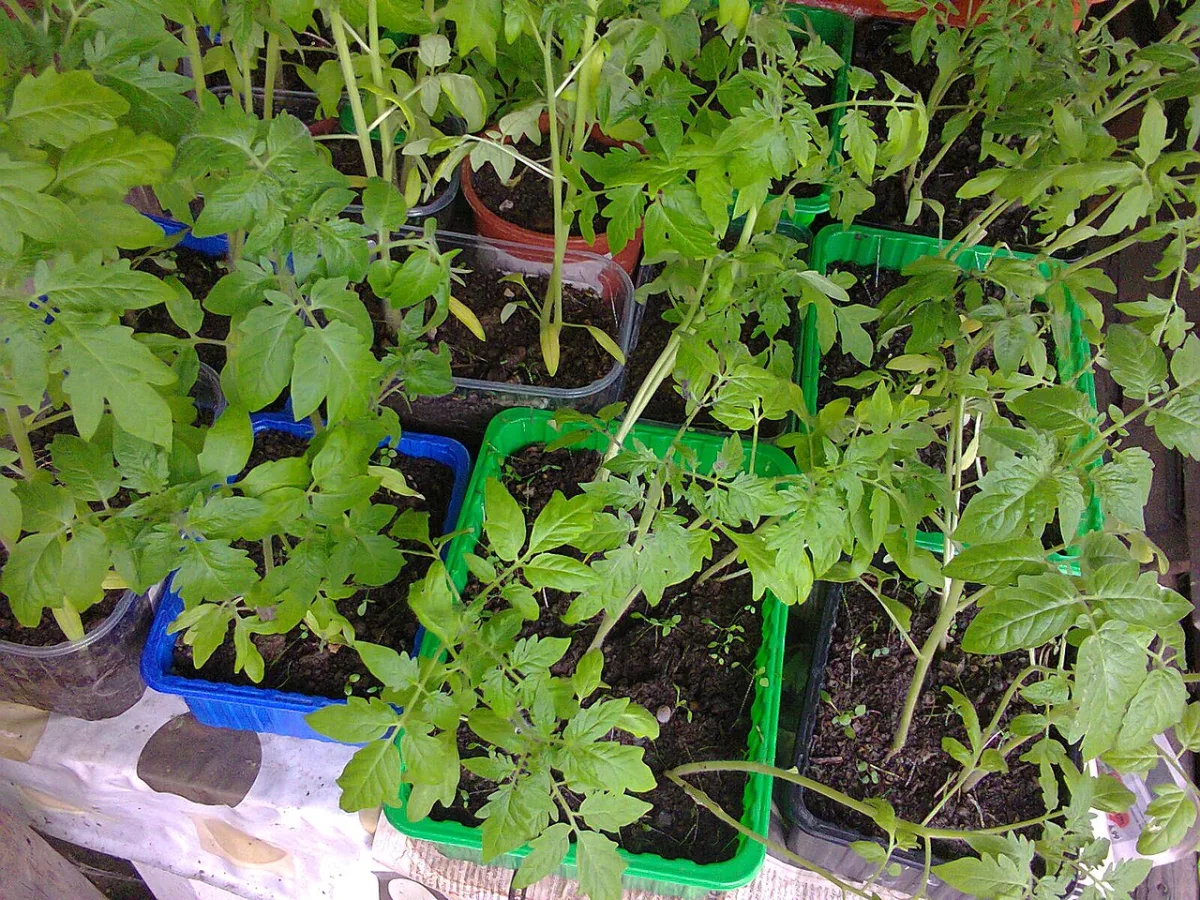
Technology for raising tomato seedlings in early and mid-season hotbeds
Vegetable growing For students