
Specifics of growing early cabbage, leek, and garlic in greenhouses
6 min read
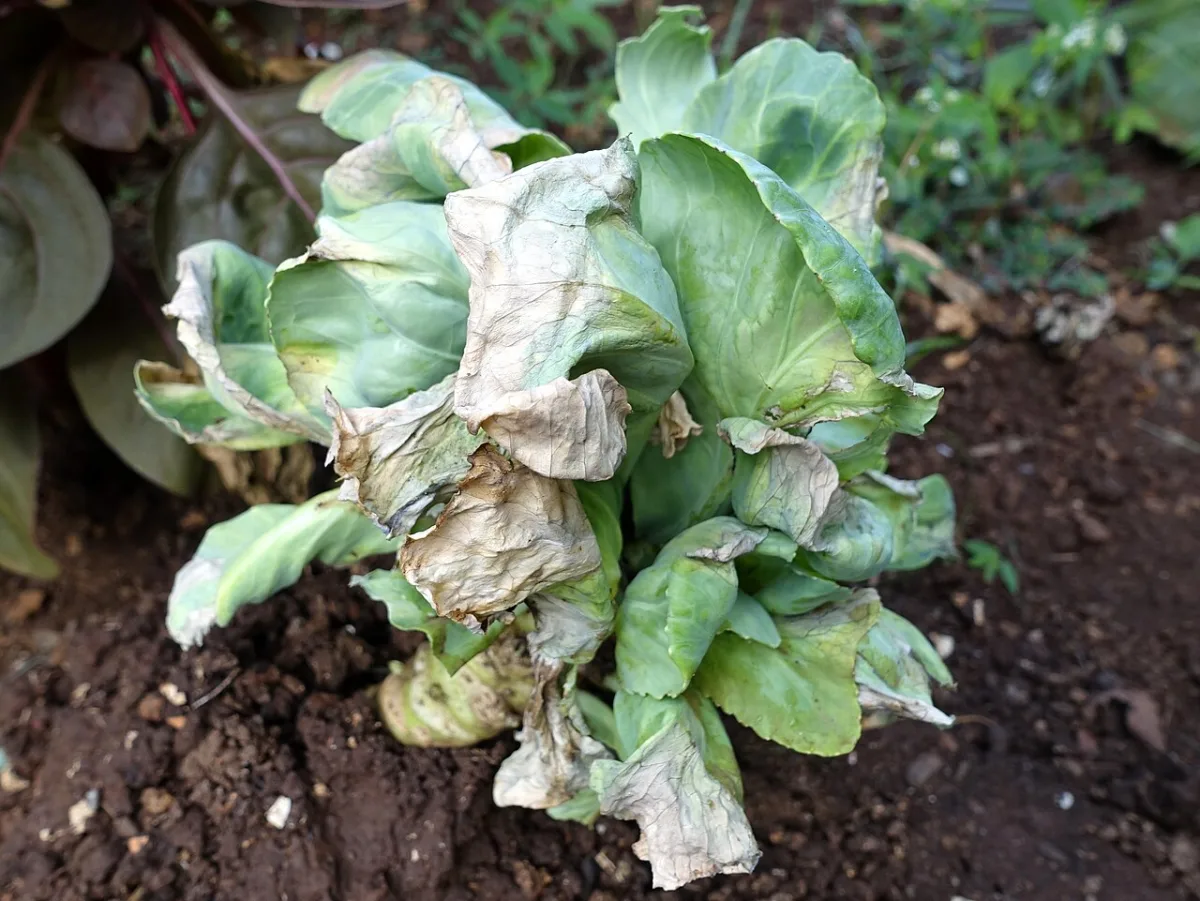
To obtain an early harvest of white cabbage, sow the seed into the soil in late January to early February. Sow the seed in furrows with a spacing of 50 cm between rows and between plants (place approximately 45—50 plants per 10 m²).
Be sure to apply nitrogen fertilizer to the soil, as cabbage is very demanding of nutrients. The best fertilizers are manure, peat, and compost. Add 40—50 kg of such fertilizers to the soil per 10 m².
Good results are also obtained with the integrated application of mineral and organic fertilizers. Apply 20 g of ammonium nitrate, or 30 g of potassium salt, or 10—15 g of potassium chloride per 1 m².
It is very similar to white cabbage, only it has red-violet colored leaves and heads with a purple tint, which are slightly smaller than those of white cabbage. The cultivation technique is exactly the same as for white cabbage.
To obtain an early harvest of cauliflower, its seed should be sown in January or February.
After emergence, the cabbage needs to be thinned, leaving a distance of 50 cm between rows and 40 cm between plants.
For the cabbage to have good flavor, perform 3 top dressings: the first — 12 days after planting, the second — 10—15 days after the first, and the third — at the beginning of head formation. Use the same doses and types of fertilizer as for white cabbage.
This is a plant that forms a long, round bulb (false stem) and is useful because it contains many potassium salts, which gives it a diuretic effect. Leek should be used for treatment and health improvement in cases of rheumatism, obesity, and kidney stone disease.
To obtain an early onion harvest and to ensure that its greens are juicy and tender, apply humus or compost to the soil before planting.
When the greens appear, perform a top dressing with mineral fertilizers. For the leek stalk to be white and tender, the plant must be hilled.
Garlic can be winter or spring; it is propagated vegetatively by cloves or bulbils. This plant grows best in fertile soils, but they should not be fertilized with fresh manure or humus.
The cloves are planted to a depth of 8 cm. The distance between plants and between rows depends on the size of the cloves. After planting, the beds are mulched.
After emergence, a top dressing is performed. It is repeated after 20 days, and a third top dressing is done after another 20 days. The application rates and type of fertilizer are the same as for onions.
Garlic is a moisture-loving crop, so irrigation must be systematic and abundant. Irrigation should be stopped 15—20 days before harvesting.
Lettuce prefers fertile soils enriched with organic fertilizers.
Sow lettuce every two weeks so that the greens will grow continuously. The distance between rows should be 20 cm, and 3 cm between plants. The seed is planted to a depth of 1.5 cm.
Care for this crop consists of systematic loosening between rows and abundant irrigation.
Swiss chard, or leaf beet, is grown by sowing seed. The distance between rows should be 45 cm, and the distance between plants depends on the cultivar. If it is leaf chard, this distance is 25 cm; if it is stalk chard, it is 40 cm. The cultivation technique is similar to that for table beets.
Transplants can be grown on a windowsill, as well as in greenhouses specially equipped with shelves. Before starting to sow, prick out, and transplant plants, check your equipment. Prepare trays for the transplants.
Simple trays with deep bottoms made of highly hygienic plastic have proven themselves very well. They are available for sale in various diameters, round or rectangular.
| Tray type | Recommended diameter, cm |
| Round/rectangular | 4.5 or 6 |
It is more efficient to grow many plants in small areas. They are easier to move, and in addition, the roots of the plants automatically form a dense root ball. Later, it is easier to transplant them undamaged to the bed, where they grow without hindrance.
Alternatives to such trays are:
- peat pots;
- paper cups or bowls;
- paper egg cartons.
Egg cartons are very advantageous in the sense that they can be planted in the ground together with the plant, where they gradually decompose into their constituent components. Be sure to make holes in the bottom of the trays and pots so that the delicate plant roots do not suffocate.
For planting transplants, you can use expanding peat cubes, as well as highly compressed pellets made of fertilized cellulose. Once watered with warm water, they absorb the liquid and expand significantly. After a short time, these "pots" are ready for sowing seed, pricking out seedlings, or planting cuttings. However, when planting in such containers for seedlings and peat pots, make sure they do not dry out. If there is not enough water, the salts contained in the soil will crystallize and, in a concentrated form, pose a danger to delicate sprouts.
Success in growing transplants of early cabbage, leek, and garlic in greenhouses largely depends on the quality of the substrate. The soil for sowing must be loose, rich in humus, crumbly, and easily permeable to moisture. It is safest to use ready-made professional mixtures based on perlite, vermiculite, or clay granulate. A high-quality store-bought substrate contains enough lime to maintain a neutral pH, but has a low concentration of starter fertilizer.
Do not use pure non-limed peat for transplants, nor soils intended for mature or balcony plants. The high concentration of salts in them will quickly "burn" delicate young sprouts.
Sterilization of your own soil: temperature regimes
If you use compost or garden soil instead of a store-bought mixture, it must be disinfected beforehand. Thermal treatment reliably destroys weed seeds and pathogenic microorganisms. Testing shows that sterilized compost provides excellent conditions for the growth of seedlings and rooting cuttings after pricking out.
- Oven temperature — 150 °C
- Heating time in the oven — half an hour
- Microwave power — 500 watts
- Heating time in the microwave — 15 minutes
- Place the compost in roasting foil and seal it hermetically (if choosing oven sterilization).
- Heat the substrate in the oven or microwave according to the standards.
- Cool the prepared soil before using it for sowing or pricking out.
Read next
Greenhouses and covers For gardeners
Technology of growing pepper transplants for greenhouse and open soil
Greenhouses and covers For gardeners
Technology of growing early white cabbage transplants in protected soil
Agrochemistry For students