
Principles of plant compatibility and seed sowing of tomatoes in a greenhouse
15 min read
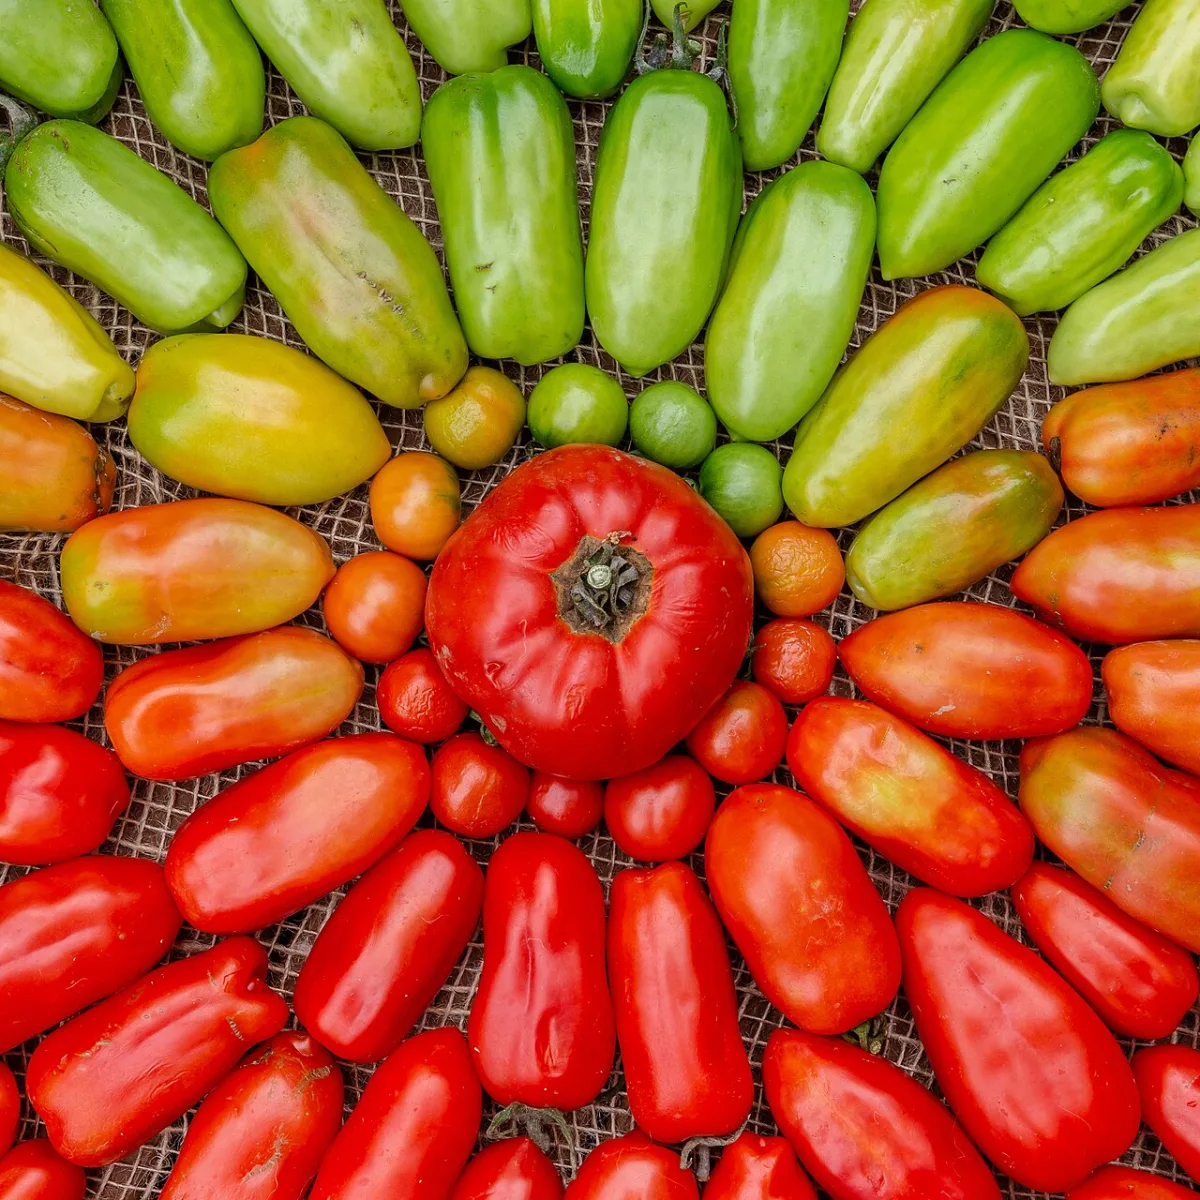
Plant compatibility is determined by several parameters.
Firstly, by habit, that is, the height and width of the above-ground part, as well as their light requirements. Thus, tall plants should not shade short ones if they are all sun-loving. But short shade-tolerant crops can well grow in the shade of taller plants.
Secondly, plants must have compatible root systems. Primarily in terms of the depth of the absorbing part of the root system and its lateral spread. That is, the root system of the plants should be located at different depths of the arable soil layer so as not to compete with each other for nutrients and water.
Thirdly, plants should have approximately the same requirements for soil acidity, soil fertility, and structure (those plants that prefer light sandy loams are unlikely to be able to grow on heavy loams, even if the plants are compatible in other parameters).
There are also other conditions for plant compatibility. Irrigation and top dressing (their regime and composition should be approximately the same), pests and diseases (which, on the contrary, should be different), and in addition, there is such a concept as plant cooperation, or vice versa, their antagonism, both in the exchange of phytoncides and in the exchange of root exudates.
So compatibility is a rather complex concept. But there are some simplified schemes of plant interaction with each other, mainly formed as a result of many years of observations by agronomists and gardeners. The simplest combinations of compatible and incompatible plants are given here.
How to properly sow tomato seeds
The container should not be very deep (6–7 cm high). Fill the container with well-moistened soil mixture, leaving 2 cm from the top edge. Compact the soil with a tablespoon, add more soil if necessary, compact again, and spread the seeds on the soil surface at a distance of 1´1 cm. Cover with 2 cm of dry soil on top and compact again with a spoon. Cover the container with glass or film and place it in a warm place.
At a temperature of 28–32 degrees, the seeds will show emergence in 4–5 days, at 24–26 – in 6–8 days, at 20–23 – in 7–10 days. The seeds will show emergence even at 18 degrees, but only in two weeks or later.
☝The best seedlings are those that appear in a week at 25 degrees of heat, and they appear simultaneously, as a group.
Those that are significantly delayed (by 4–5 days) after the main group should be culled immediately. The very first individual seedlings are not always the strongest either. It is possible that when sowing, they simply ended up at a shallower depth than the others. So it is more reliable to choose from a uniform group of seedlings.
If you want to grow 1–2 plants, you should sow at least 5–6 to select the truly strongest ones, and cull and ruthlessly discard the rest. But how does it usually happen for us? We feel sorry (or pity), so we prick out everything that has emerged. But then we don't know what to do with such a number of transplants and start shoving them wherever we can.
How to determine if plants are weak?
Weak plants emerge later, emerge without shedding the seed coat, have fused cotyledons, the first true leaves are malformed, and they lag behind the others in growth and development.
However, seedlings may appear later also because some seeds were sown at a greater depth than others, so make sure that all seeds are sown at the same depth. A plant does not shed the seed coat because the seed was sown too shallowly, or the soil was not compacted after sowing, or the seed is weak.
Therefore, compact the soil and sow seeds at the required depth; then, seedlings with a "cap" will signal to you about poor seed quality. They must be discarded immediately, rather than picked at with a needle or soaked with water. They won't provide a good harvest anyway.
What is pricking out of transplants?
Pricking out transplants is their first transplanting. Tomatoes quickly recover their damaged root system, and when the root hairs are broken, they grow even denser on the same rootlet, which is why tomatoes easily tolerate transplanting. Generally speaking, the more transplantations, the stronger the plant. And therefore, tomatoes can be transplanted first into small cups, then into larger containers. Seedlings are pricked out at the 2–3 true leaf stage; at this time, a third of the lower part of the central root is usually pinched off, which, as mentioned above, forces the root to branch.
Since I grow tomatoes without irrigation all summer, I need to preserve the taproot, so I transplant tomato seedlings into film wraps. This not only preserves the root but also forces it to grow downwards immediately after transplanting. To do this, cut the film into 15´25 cm pieces. In the upper left corner, write the cultivar name with a marker (it won't smudge when wet). Once it dries, flip the film over to the other side.
Pour 1 tablespoon of prepared moistened soil onto the film, again in the upper left corner, and place the small plant on it so that all leaves are above the top edge of the film. When transplanting, the plant should not be held by the stem, but only by the cotyledonary leaves. Add another tablespoon of soil on top and wrap it like a baby, barely folding the bottom edge of the wrap so the soil doesn't spill out, then roll it into a cylinder and put a rubber band on it to keep it from unrolling. Place the wraps with seedlings tightly together in a fairly deep container so they don't tip over (for example, a plastic container without drainage holes used for fruit or salads). Do not fold the edge of the wrap at the very tips of the roots, as this will hinder their downward growth.
Seedling development: supplemental lighting, irrigation, and early feeding
When transplanting tomatoes, the taproot is not pinched so that upon transplanting it immediately starts growing deep into the soil. When growing in film "wraps" after transplanting, pour 1 tablespoon of a weak fertilizer solution (1 teaspoon of "Uniflor-buton" per 2 liters of water) into each cylinder. At the 5–6 true leaf stage, carefully unroll the cylinders, add 1 tablespoon of soil under the roots, and wrap them back up.
Growing seedlings in film cylinders saves space and soil volume, and also simplifies transportation. The plants develop in a moderate stress mode, which stimulates them to set their first flower clusters faster.
Seedling feeding begins immediately after the cotyledonary leaves open, without waiting for the first true leaf to appear. At this point, the seed's reserves are already exhausted, and the plant switches to root-based nutrition, experiencing a desperate need for nitrogen and phosphorus. For irrigation, use a weak solution of mineral fertilizers at a rate of 1 teaspoon of the preparation per 5 liters of water.
- "Kemira-lux";
- "Uniflor-rost";
- "Rastvorin";
- AVA.
A lack of light at the moment the developmental program is set causes tomatoes to continue producing leaves instead of the first flower cluster (which should form after the 5th or 6th leaf). Each extra leaf delays the start of fruiting by approximately 5 days. To avoid harvest delays, provide seedlings with 12 hours of daily supplemental light using fluorescent lamps, placing them 7 cm above the plants. Special lamps (as well as some standard ones) can be suspended 1 meter above the seedlings without the need for further adjustment.
- Supplemental lighting period — 12 hours per day
- Fluorescent lamp height — 7 cm above plants
- Initial irrigation volume — 1 teaspoon per seedling
- Period without irrigation after planting — 1 week
Excessive irrigation at the initial stage inhibits root development due to a lack of oxygen in the soil. Increase irrigation gradually, guided by the weather and the condition of the top layer of soil. It is best to combine it with the application of weak doses of mineral fertilizers, watering as the soil surface dries out.
| Weather conditions | Irrigation frequency |
|---|---|
| Hot days | Daily in the evening |
| Cold days | Every 2–3 days |
Preparation for planting and transplanting into open ground
Stop irrigating seedlings 2–3 days before transportation and planting in the soil. A dry soil ball decreases in volume, making it easy to remove the plastic container without tearing the roots, whereas wet soil crumbles during extraction and injures the root system. In addition, dried-out plants become less fragile and endure the journey more easily.
Before planting the seedlings out of the cups, prepare planting holes, the depth of which should slightly exceed the height of the pot. Plant tomatoes deeply and hill them up to stimulate the growth of additional roots. Immediately after planting, secure tall seedlings to stakes.
- Apply 1 tablespoon of superphosphate (or a scant tablespoon of double superphosphate) into each hole.
- Fill the hole with water to the top and repeat the procedure 3–4 times after it absorbs (a total of 3–5 liters per hole should be used).
- Place the seedling in the hole, plant it deep, and hill up the plant.
- Tie the stems to support stakes with narrow fabric strips.
- Water the planted crops abundantly and completely exclude irrigation for the following week to force the roots to grow deep in search of moisture.
When using transplants from plastic "sleeves," add 1 tablespoon of superphosphate, a handful of down and feathers, and half a teaspoon of powdered AVA fertilizer to each planting hole beforehand, then pour in 3–5 L of warm water. Remove the plastic from the cylinders directly in the planting hole, one by one for each plant, to prevent the exposed roots from drying out instantly in the air. Compact the soil around the planted specimen, water it with warm water at a rate of half a liter per plant, and mulch immediately with newspapers or scraps of old wallpaper.
It is best to transplant any seedlings in the second half of the day, and they should be shaded for a couple of days after transplanting. However, this is not necessary if you spray the plants with a solution of "Zdorovyy Sad" and "Ecoberin" immediately after transplanting. To do this, take 2–4 granules of each product, shake until completely dissolved in 100–200 ml of water, add water to reach 1 L, stir, and spray. Such a solution can be stored for an unlimited time while maintaining its properties. Instead of these products, you can use "Epin-extra" or "Novosil".
It is recommended to apply top dressing after the transplants have taken root (when a new leaf has appeared), or not to apply them at all if you follow my advice (application of superphosphate and AVA fertilizer when planting in the hole).
Tomatoes can be planted in a greenhouse early if you create heated soil. To do this in the spring, as soon as the soil allows, dig trenches in a covered or glazed greenhouse to the depth and width of a spade blade. Pack the trenches with dry hay or dry leaves prepared from autumn, or even feathers (if you have many old pillows or feather beds). Now, shovel the soil excavated from the trenches back on top, place a board over it, and walk along the board to compact the soil.
It is best to tie the transplants in the greenhouse to a horizontally stretched wire (trellis) using soft twine. You need to stretch two such trellises:
- Stretch the first one 10–15 cm above the tops of the transplanted seedlings.
- Stretch the second one right under the greenhouse roof.
Tie the twine in a loose loop under the lowest pair of leaves, and while winding the twine around the stem, pass it under each leaf, then tie it to the lower trellis with a bow so that the twine can be easily untied. The length of the twine, naturally, should be enough to allow you to tie the tomatoes to the upper trellis later on.
☝You must not allow the stem to bend – such a plant is poorly supplied with nutrients from the soil. As the plant grows, you must constantly wind the twine around the stem, passing it under each leaf.
After draping a non-woven material – spunbond or lutrasil – over the trellis, cover the planted tomatoes with it. It is better to use a double cover of thin material rather than a single thick one. Spunbond will protect the plantings from night frosts.
The hay in the trench will begin to decompose in the greenhouse and provide heat to the root system of the tomato. Furthermore, this heat will warm the air under the spunbond. With such planting, tomatoes can withstand morning frosts down to minus 6 degrees. After the frosts end, the cover can be removed.
In warm daytime weather, immediately after the frosts end, the greenhouses should be opened, but the spunbond does not need to be removed. When sufficiently warm weather sets in, the greenhouse door and the vents under the roof ridge must be kept open around the clock. Moreover, in hot weather in mid-summer, you can even remove the roof over the greenhouse with the tomatoes. This improves fruit set and prevents the plants from contracting late blight.
If you are transplanting seedlings into open ground, they must be hardened off beforehand; to do this, take them outside for 3–4 hours daily for a week. Again, spraying them with a solution of "Epin-extra", "Novosil", or "Ecoberin" (even better, together with "Zdorovyy Sad") immediately after transplanting to their permanent location will save you from dragging the seedlings back and forth.
Transplanting into the soil can only be done after the night frosts have ended.
Usually, books recommend applying top dressing to tomatoes every two weeks. First, provide 10 g of nitrogen, 10 g of phosphorus, and 20 g of potassium (10 g is approximately 1.5 teaspoons) per 10 L of water, using half a liter for each plant. Then, double the dose of fertilizer and add another 10 g of magnesium per 10 L of water, using half a liter per plant.
However, experience shows that it is much more effective to combine irrigation with top dressing, that is, to water the plants not with water, but with a weak solution of mineral fertilizer (3 tablespoons per 10 l of water) weekly (or more often in dry, hot weather).
To prepare the solution:
- Take 2 tablespoons of azofoska;
- Add 1 tablespoon of double superphosphate;
- Add half a teaspoon of potassium carbonate or potassium sulfate (tomatoes do not like chlorine);
- Add 2 teaspoons of "Uniflor-micro" per bucket of water;
- Pour half a liter of the solution under the root of each plant.
It is even better to organize drip irrigation either using a special hose with holes, or by burying two-liter plastic bottles with nutrient solution between the plants, in which you need to make 10–12 holes in the lower part of the side surface with a thick hot nail and unscrew the cap.
You need to take a small clump of soil from a depth of 10 cm and squeeze it in your palm. Then open your palm:
- If the clump did not fall apart, there is enough moisture;
- If it fell apart – there is not enough moisture and irrigation is required;
- If moisture started to seep from the soil clump when squeezed, then the soil contains excess water.
But if you follow my advice, then no irrigation-top dressing will be needed for the tomatoes.
When planting tomatoes (and not only them) on sandy soils, it is best to use hydrogel or drip irrigation through plastic bottles or hoses with holes connected to tanks. It is not necessary to place the tanks high. They only need to be slightly elevated above the soil surface, and then the water will flow out of them by gravity.
Plant training and accelerating fruit ripening
Proper training of a tomato plant directs the plant's resources to fruit development rather than the growth of excess green mass. In conditions of a limited growing season, this is critically important: without pruning shoots and leaves, the harvest will not have time to ripen. Controlling the vegetative mass allows you to obtain large, marketable fruits by the planned time.
The technology of plant training consists of regular removal of excess shoots and leaves as they develop:
- Remove all side shoots (suckers) in a timely manner. If you plan to grow tomatoes with two stems, leave the side shoot growing directly under the first inflorescence as the second stem.
- Gradually remove the leaves under the developing fruit cluster — first under the first one, then under the second, and so on, until all fruiting clusters are exposed.
- At the end of July, perform topping: remove the growing point by cutting off the tops of all stems. Leave 3–4 leaves above the uppermost fruit cluster to ensure fruit development.
- At the same time, pluck off all flowers and buds, as they will not have time to set and ripen, but will draw off nutrients.
- Time for topping and removal of buds — end of July
- Number of leaves above the top cluster — 3–4 pcs.
- Reserve side shoot for the second stem — from under the first inflorescence
To accelerate the ripening of tomatoes at the end of the season, it is necessary to artificially limit the supply of moisture and nutrients to the plant tissues. For this, irrigation is completely stopped in the greenhouse. Additionally, mechanical methods of reducing root pressure are applied.
To sharply limit nutrition, you can partially damage the root system of the plants. To do this, carefully pull the bushes upward by the very bottom of the stems, breaking off the small absorbing roots. Splitting the stem at the base is also practiced: a small wooden splinter is inserted into the longitudinal split.
Read next
Greenhouses and covers For gardeners
Seed preparation and sowing rules for pepper transplants
Greenhouses and covers For gardeners
Sowing and growing technology of tomato transplants for greenhouses
Greenhouses and covers For gardeners