
Methodology for the preparation and application of sterile crops in agrochemical research
5 min read
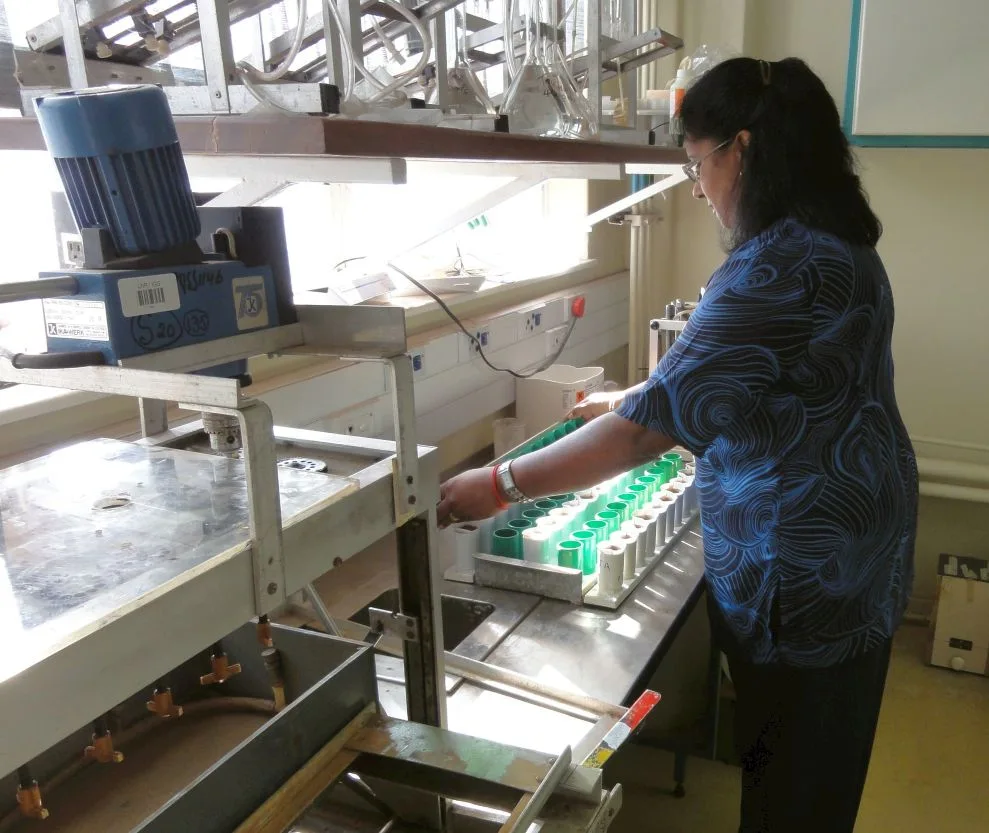
The sterile culture method allows for the precise determination of the role of microorganisms in plant nutrition, the study of the composition of root exudates, and the assessment of the possibility of direct assimilation of organic compounds. Under normal growing season conditions, soil microflora distorts these processes; therefore, the isolation of the root system is of critical importance. For this work, special hermetic vessels are used, with all elements undergoing mandatory thermal or chemical treatment.
- Autoclaving pressure — 2 atm
- Dry-heat sterilization temperature — 150 °C
- Glass and sand calcination time — 2 h
- Penicillin dose for media — 3–10 mg/L
Preparation of laboratory glassware and nutrient media
Conical flasks made of heat-resistant glass serve as the basis for plant cultivation. Their neck must be tightly sealed with a stopper fitted with a mounting device to ensure the hermeticity of the connections. The volume of the vessel is selected individually based on the research objectives and the planned duration of cultivation.
| Recommended cultivation flask volume, L |
|---|
| 1,5 |
| 3,0 |
| 5,0 |
Rigorous temperature regimes are applied to prepare the equipment for the experiment. Rubber components (e.g., medical probes) are pre-boiled in distilled water to prevent them from sticking together during autoclaving. All non-heat-resistant elements are treated chemically.
- Glassware and sand are sterilized by dry calcination for 2 hours at a temperature of 150 °C.
- Nutrient solutions are subjected to triple fractional sterilization: heated to 100 °C, kept for several days at room temperature, and heated again.
- Polyethylene elements, perlon gauze, and foams are immersed for 20 hours in a bleach solution, after which they are rinsed with 50% methanol and sterile distilled water.
- Plant cuttings and rhizomes are sterilized by immersion for 15–20 minutes in a 1% sodium hypochlorite solution.
Liquid nutrient media can also be sterilized by the addition of antibiotics (e.g., penicillin) or by ultraviolet irradiation. This method is suitable if the factors used do not influence the studied physiological process. The finished vessels with plants must be covered with special sheaths to protect the nutrient solution and roots from heat and direct sunlight.
Seed sterilization methods and sowing technique
Before disinfection, the grains of glume-bearing crops (barley, oats, rice) must be completely freed from the glumes and floral scales. For better wetting, the seed is pre-immersed for a few minutes in 96% ethyl alcohol to degrease their surface. This ensures uniform coverage of the entire grain surface with the disinfecting agent.
An agronomist can choose the most accessible chemical reagent for seed disinfection. Most methods require subsequent mandatory washing with sterile distilled water. Seed sterilization is carried out according to one of the verified schemes:
- Immersion for 10–15 minutes in a 1% aqueous bromine solution.
- Soaking in a 0.001% aqueous ethylmercuric phosphate solution for 5 minutes.
- Holding in a 12–15% hydrogen peroxide solution for 12–15 minutes.
- Immersion in a 0.1% formaldehyde solution for 15–20 minutes.
- Shaking for 5 minutes in a mixture of 3 parts of 90% methanol and 1 part of a 1% mercuric chloride (HgCl2) solution, followed by drying before sowing.
- Shaking for 45 minutes in a freshly prepared filtrate of bleach or sodium hypochlorite (10 g of active ingredient per 150 ml of water) without subsequent rinsing and drying.
- Immersion of cleaned sunflower seed for 15 seconds or wheat for 30 seconds in an 80% methanol solution.
For large-seeded grain legumes, sterilization in an open flame is suitable. The seed is first soaked in 95% ethanol. Then, the alcohol is ignited from a spirit lamp flame and held until it has completely burned off the grain surface.
Do not allow roots to exceed 1 cm in length during germination, otherwise they will break during planting. Also, avoid using a 12.8% benzalkonium chloride preparation (diluted 1:1000): it effectively disinfects the seed but strongly inhibits the subsequent growth of the seedlings.
Transferring the seed into the vessels is carried out in sterile hoods equipped with germicidal ultraviolet lamps. All tools and cotton wool used are pre-sterilized. This completely excludes the entry of foreign microflora from the air into the prepared flasks.
- Germinate the sterile seed in a sterile hood until the moment of emergence.
- Prepare the vessels before sowing: squeeze the rubber tubes, add the solution up to the grid of the sowing tube, carefully blow through the system, and wipe the external surfaces of the flasks with alcohol.
- Transfer the germinated seed using tweezers through the Mohr clip onto the grid of the sowing tube.
- Check the position of the seed on the grid: if they have landed with the roots facing upward, carefully rotate them by gently blowing through the solution.
- Place double protective bags on the lower part of the vessels, set them in the growing location, and subsequently blow through the solution daily.
At the end of each experiment, be sure to take samples of the nutrient solution for microbiological sowing. This is the only way to confirm that complete sterility was maintained throughout the entire growing season.
With the help of the sterile culture method, a number of important and interesting discoveries have been made; in particular, the possibility of plants using nitrogen from asparagine, phosphorus from lecithin and phytin has been proven, and the role of plant root exudates, the significance of microorganisms, and the effect of physiologically acidic ammonium sulfate on the assimilation of P2O5 from phosphorite flour have been studied.
Read next
Agrochemistry For students
Flowing solution method in plant mineral nutrition studies
Veterinary medicine For students
Fundamentals of veterinary surgery: classification of operations, instruments and methods of sterilization
Agrochemistry For students