
Rules for installing polycarbonate on a greenhouse and choosing a location for its placement
15 min read
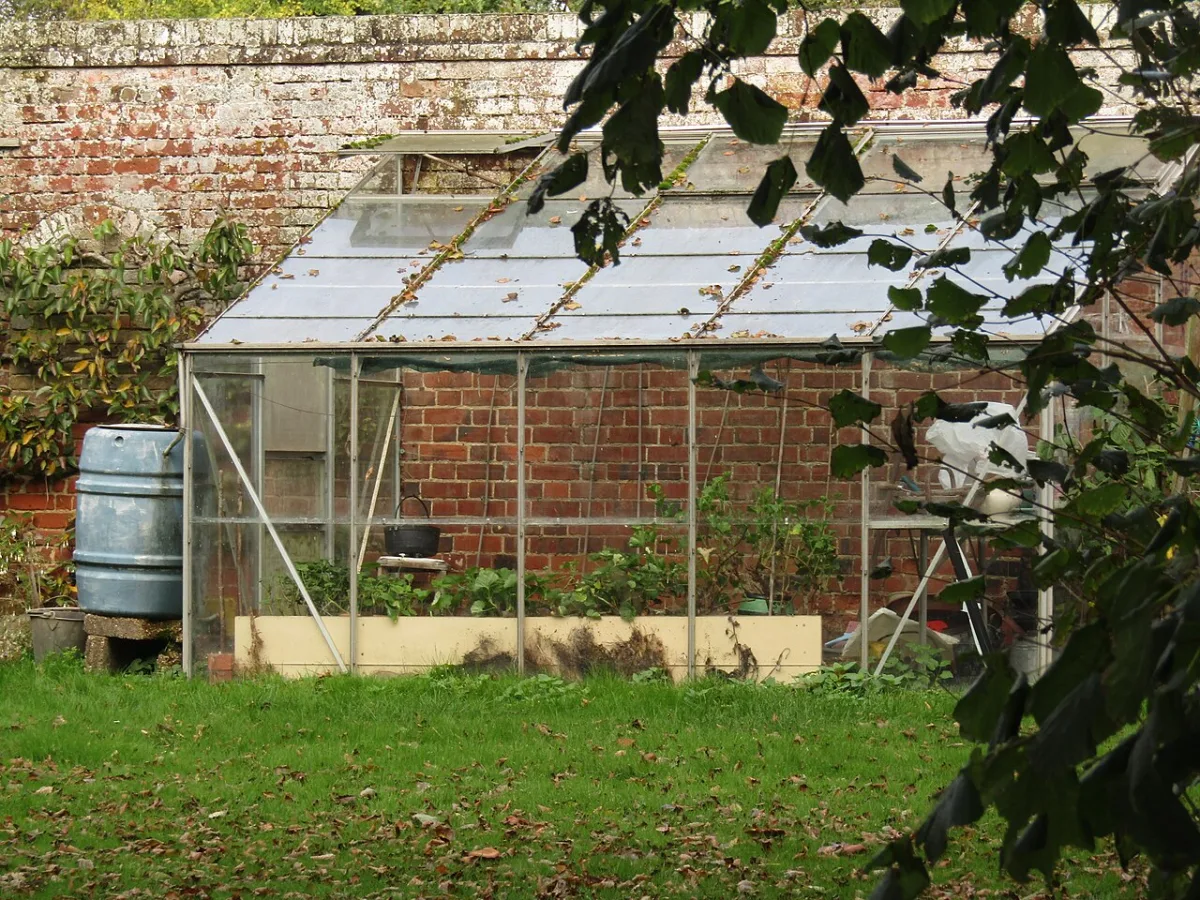
Not long ago, a gardener tried to convince me that, in his opinion, it absolutely does not matter which side up polycarbonate sheets should be attached. He referred to his professional technical knowledge. I thought then that if even such a knowledgeable person can get confused by surface coatings, then the average summer resident certainly can. So how important is it not to mix up the sides and how can this be avoided?
So, according to the provided instructions, the PC must be laid on the frame with a strictly defined side facing outward: the one that has been sprayed with a protective UV layer. I emphasize that if this condition is repeatedly stated in the attached instructions (which is good: it means the protective layer is there), then it is very important. It should not be ignored, as the service life of the greenhouse depends on it.
Conclusion:
- Read all labels carefully, including those on the PC sheets themselves; they will clearly indicate where the top side is.
- That is where the sprayed-on and practically invisible UV layer is located; it protects the entire thickness of the polycarbonate from decay under the influence of sunlight.
Attention, do not confuse: the protective layer is not the protective polyethylene film on the PC sheets!
Usually, on unfolded PC sheets, there is a protective polyethylene film on each side to protect against mechanical damage and scratches, which inevitably appear during transportation and the assembly of the greenhouse itself (dragging across the ground, concrete, or metal). The films may vary in thickness. Both must be removed.
Recommendations for film removal:
- It is more convenient to do this on the ground immediately before putting the PC onto the assembled frame, so to speak, at the very last moment.
- Although it is most correct to remove the films only after mounting the sheets, from the dome of the finished greenhouse.
Plastic is electrostatic, so when peeling off the film, you will soon start getting slightly shocked by electric discharges when touching the metal frame. The solution is not to rush to assemble everything at once and to take long pauses between peeling off the film.
When choosing a location, I recommend first agreeing with your neighbor: it would be good for both parties to create a common solid boundary made of greenhouses arranged in a checkerboard pattern. For example, two on his side and two on yours, and together they create a single continuous barrier. You just need to agree on jointly maintaining cleanliness from weeds and pesticides in the adjacent space. What a great solution! And what other successful solutions are there?
This, as you understand, is more of a figure of speech; in reality, such coincidences of plans and possibilities between neighbors almost never happen, and even if you give your neighbor two greenhouses, he will still grumble that you have ruined his plans and brought confusion into his established household.
I will talk about a realistic, simple picture: where on your own plot, cluttered with all sorts of structures and plantings, is it possible to wedge such a bulky structure? And to wedge it in such a way that it is still acceptable for plants to exist there in terms of lighting?
| Length, m | Width, m | Area, m2 |
| 3 | 4 | 12 |
* * *
A brief note on classic landscape design. Previously, when people planned their plantings from scratch using typical projects offered in popular books and magazines, they provided space for a greenhouse alongside a parking space, a recreation area, and a compost heap. Such a place, I remember, was often set aside near the house, on the south-east side, since one of the common models then was a wall-mounted greenhouse.
Wall-mounted greenhouse — year-round. It partially receives heat from the wall of a residential house, so it is easier to maintain a positive temperature in it. It is convenient to move various exotic trees in tubs, such as lemons, into these greenhouses for the winter, turning the glass-enclosed room into a winter garden. We are not considering such greenhouses here; I mentioned them only because they were always placed on some sunny side of the house:
- south-east;
- south;
- south-west.
By the way, now such projects during plot planning would rather be called landscape design. One would assume that the specialist you hired would not think to incorporate an ensemble of 3 greenhouses into his masterpiece. I sympathize with you; it will be difficult to convince him otherwise, I know.
They begrudge the space for "all sorts of nonsense," yet at the sight of "such tasteless monsters that spoil the composition"… But they are all too ready to clear away priceless fertile soil for lawns and paving stones!
I mention this again as a case in point. I meant that you will have to rack your brains to fit any chosen number of greenhouses nicely into your plot design. All while keeping in mind that they must all be located in a sunny spot.
The upcoming composition—or layout—is a complex task from the perspective of a panorama; you will have to fit three white, rounded structures into the plot's view. Visually, they can either expand or shrink the estate, split it in an undesirable way, or turn it into a single whole.
Everything depends on how demanding you are regarding the artistic layout of the estate. However, it is worth studying and comprehending the entire theory of greenhouse life first, which is why I am breaking it down in such detail. I urge you not to rush the choice of location on the plot plan for your future greenhouses.
In the event that you are not planning your plantings from scratch, the task becomes even more difficult: to find spots for the greenhouses among existing plantings, again based on the requirement for sunlight.
* * *
The concept of a sunny spot, as I have long since discovered, varies so much among gardeners that a special clarification is required.
Some owners in their gloomy gardens (among 3-story houses, where an age-old elm or a row of mossy spruces stands by the fence) believe that if the sun even grazes the spot, it is already sunny. No, two hours of direct sun is far from a sunny spot.
So how much is needed then?
Folks, put away your stopwatches; you won't fool the plants anyway.
If you want to get a harvest, find or create a sunny spot!
Conclusion: The more sun, the better the spot for a greenhouse, as it essentially "runs" entirely on solar energy. It is created solely for the sake of heating in the sun and for nothing else. In full shade, a greenhouse will simply be useless. The more shaded the spot you place it in, the more its potential—i.e., its capabilities—will decline.
If the spot chosen is completely sunny, then even the early rays of the sun, barely visible above the horizon, begin to raise the temperature around the plants; the process, as they say, has begun. There is no need to explain the uniqueness of your difficult conditions; they must be rectified.
I already know the situation where, on a traditionally small garden plot long occupied by all sorts of apple trees, it is difficult to find a one-hundred-percent sunny spot. One like in an open field—from dawn to dusk. And yet, you must choose one or create it through partial or full removal of unnecessary growth to get as close to such conditions as possible. A solar exposure angle of more than 90° is required; it is desirable to bring it closer to 180°.
That is, you can place a greenhouse on the western side of the house if nothing blocks the sun almost until sunset; for tomatoes, this will suffice. If it does not stand right against the house, the angle of solar exposure (from the moment the sun emerges from behind the house until sunset) will be almost 180°.
Re-planning of plantings entails the following measures:
- pruning for shortening;
- cutting old shrubs (lilac, chokeberry) down to the root;
- removing wild plum or apple trees with mediocre fruits;
- lowering the canopy and training scaffold branches to a horizontal position using ties.
When attempting to squeeze a greenhouse between old fruit trees, for example, right against an old apple or plum tree, one must also take into account the harmful influence of their roots. Comparing the efficiency of a greenhouse and its benefits—the pleasure of growing—we see that it all turns out to be much higher than the questionable harvest of an old fruit tree. After all, many of them effectively grow almost for nothing, perhaps fruiting only once every few years. If you cling to gnarled, ancient plantings and choose a semi-shaded spot for an expensive greenhouse, it will neither pay for itself there nor improve the quality of your gardening.
Important. A fruit tree possesses very competitive roots; sooner or later it will begin to occupy the greenhouse area and deprive the crops planted there primarily of water. An apple tree has a very high root suction force; with it as a neighbor, you will never be able to finish irrigating! In addition, there will be a struggle for nutrients: a fruit tree is just as "greedy" for nitrogen and microelements.
It is worth adding that all this also applies to the proximity of forest trees: birch, spruce, alder. The further the chosen site is from any tree, the better, and in any case, the outer perimeter will have to be dug out. To what width? To a width sufficient to be sure every season that the roots will not reach our covered plants even with a powerful growth spurt.
And if greenhouses are placed in a row, what is the minimum distance between them?
It is obvious: so that the doors do not interfere with each other when opening — approximately 1.5 m, the width of two doors. This distance is enough for normal ventilation of the greenhouses when the doors are fully open on both sides. Closer is possible, of course, to the width of one door, but there is a risk that both greenhouses will not be ventilated sufficiently.
I have another practical idea: such a row of greenhouses acts as a windbreak. In those vegetable gardens where the wind rages, everything must either be hilled high or tied to supports, otherwise a tall plant will sooner or later be knocked down during the season. Strong winds knock down and break the leaves and green shoots of cabbage, corn, sunflower, as well as peonies, delphiniums, and other flowers.
Behind the greenhouses, a pocket of a calmer and warmer microclimate is formed. Usually, gusts of wind are somewhat dampened by buildings and solid fences, and a row of 2–3 greenhouses, placed at the edge of the garden or wedged in its middle, noticeably weakens the wind further. You will notice that the closer a row of plants is to them, the less they suffer from the wind.
Regarding the draft. This also concerns the stability of the greenhouses themselves. If they are poorly anchored to the soil, they sometimes fly away! "I look up — the greenhouse is flying!" — from the story of a nursery owner in the steppes near Togliatti, when he and his staff were taking their first steps in creating protected ground.
Do not place them in an open area if you have strong winds: if it doesn't get carried away, it will be shaken loose. The plots of some gardeners are exposed to particularly strong winds:
- plots surrounded by fields;
- those located in open steppe spaces;
- those located near large bodies of water (wide rivers, lakes, reservoirs, and the seashore);
- edge plots in summer cottage settlements;
- plots located on the highest points of the terrain.
The situation worsened in the post-Soviet years, when many forests were uncontrollably felled and thinned, and former collective farm shelterbelts became sparse and exposed to the wind. The requirements for fastening covering materials, such as polycarbonate, have increased. And here one of the advantages of our PC hangars is their streamlined shape: a semicircular, low-profile capsule that offers less wind resistance. Older glass greenhouses had high windage and therefore required a strong, almost immobile, massive frame.
To summarize. The appearance of a new greenhouse is an occasion to replan your planting scheme. A refreshing wind of change! It is probably time to get rid of something and move something else. If only because, friends, it is impossible that you are not developing in gardening, and that with experience, new and more perfect planting ideas do not come to mind.
Furthermore, there is a concept of rejuvenating rotation of all crops: it is simply necessary to divide and swap perennial flowers and shrubs, including berries, every few years. You cannot grow a plot layout created once upon a time for decades like a relic: everything there will wither and get sick.
Basically, everyone buys greenhouses, understandably, in the spring, right before the season. Most likely, you will not escape the same fate, although as an experienced gardener, I consider it my duty to remind you of a more rational option. At the very least, it is better to install the frame in the autumn, or even the entire structure. What is the benefit of an autumn purchase?
As practice shows, in the spring, a greenhouse falls upon us very inconveniently. Not the structure itself, of course, but the need to assemble it. In spring, as is known, a gardener always lacks time; there is already a rush with sowing, flower beds are not tended, fruit trees are not properly pruned, and on top of that, there is the greenhouse to deal with. You cannot assemble a new model for yourself quickly!
You can, of course, order the assembly on-site; specialists will do everything quickly, but, firstly, these are additional expenses, and secondly, frankly speaking, they do it in a hurry and not very conscientiously. For example, they tighten the screws too much, while the instructions say "until the polycarbonate sheet is slightly indented." You will do everything more thoroughly, evenly, and neatly yourself. Unfortunately, it is slow.
Yes, in real time things rarely happen as quickly as you imagined. First of all, the delivery might be delayed by a week or two. I don't deny that the supplier is keen for you to receive it and pay as soon as possible, but don't forget that it is spring, there is a rush around gardening topics, transportation, and the firm’s specialists are overloaded.
Furthermore, there is an even more likely hindrance — windy weather. Working with polycarbonate sheets in the wind, especially in the cold outdoors, is a real punishment. Reasons for the difficulties:
- All measurements go off.
- The sheets get bent (spots for future cracks).
- It is impossible to carry them to the frame alone without breaking branches of surrounding plants.
- It gets dark early in April: just as you wait for the evening calm, you don't even have time to start before dusk falls.
- Other gardening tasks are a constant distraction.
In a word, if you do everything properly, waiting for good weather, the installation stretches over several weekends. It is good if you manage by May, otherwise, most likely, you will only start assembly during the May holidays.
Thus, your first season will be skimpy and shortened; you will not yet gain the early spring advantage of the greenhouse, where you could raise various transplants or grow greens.
In my opinion, the best time to buy a greenhouse is early autumn. Experienced gardeners know that there is a special period of renewed enthusiasm at the end of August — beginning of September, when, so to speak, you get a second wind. The weather is sunny, the harvest is in full swing, there are mushrooms in the forest, and the mood is excellent. And you can sort of rethink the whole season while it's still fresh, you want to correct mistakes made and use missed opportunities. At this time, you begin to energetically draw up planting plans for the next season, buy seed, dig and fertilize the garden beds, and transplant perennial crops — it is a time of active preparation for the new spring.
And this is absolutely correct: the more you do in the autumn, the invariably more successful the upcoming season turns out. It goes without saying that this is the best time to purchase a greenhouse.
There is still plenty of time to leisurely find a place for it, prepare it, and start assembling the frame. Think of how much time will be saved for spring. And how great it is to arrive in the spring not to a chaos of duties, but to a ready-made foundation!
Attention. There is also another practical factor: it is supposed to be done in the autumn to deacidify the soil using liming material, as the result will be of higher quality.
And the pH indicator is important here. Everything you set up protected ground for: tomatoes, peppers, eggplants, cucumbers, melons, watermelons — all these crops do not like acidic soil. And no matter by what method you eliminate excess soil acidity in the Central region, it is more effective to do it in advance.
The soil in the greenhouse is made highly fertile with the help of organic fertilizers, most of which simultaneously eliminate soil acidity:
And it is better to apply all of them in the autumn as well. They change the soil acidity level slowly and act gradually as they are assimilated by microorganisms and the soil. If limestone flour is added to them, the deacidification will be even better, but this also requires time.
Soil preparation for a greenhouse must begin in the autumn. During autumn digging, weeds have time to decompose before the start of the growing season, and their root and leaf secretions, which are harmful to crop plants, are completely destroyed. If the greenhouse structure is planned to be installed on a virgin plot or long-untilled sod, soil preparation is carried out several months before assembly. Application of organic fertilizers accelerates the neutralization of toxic weed secretions, but this process requires time to complete. Spring digging of sod, even with simultaneous application of fertilizers, does not allow the soil to be cleared of the negative influence of weeds to the full extent.
Protecting soil structure from over-compaction during installation
Soft and damp soil that has just emerged from under the snow is extremely sensitive to mechanical pressure. If you compress moist soil in the spring, it will not be possible to restore its porosity in the current season. Any mechanical tillage with a shovel will prove ineffective — the structure will only recover the following winter thanks to the expansion of ice crystals during freezing. During the spring assembly of a greenhouse, two loaders weighing 1 centner each will completely trample and compact the soil both inside and outside the structure in a few hours of work.
If installation must be carried out in the spring on damp soil, be sure to lay out temporary wooden planks for the workers so that they move exclusively on them.
- Sod preparation period — several months
- Weight of one installer — 1 centner
- Time for trampling wet soil — several hours
- Width of the external border strip — 0.5 m
- Complete the installation of the greenhouse structure in the autumn.
- Apply fertilizer and thoroughly dig up the entire area inside the assembled greenhouse.
- Dig the external border strip of soil 0.5 m wide around the perimeter of the structure.
- Leave the tilled area over the winter for the natural formation of a soft soil structure.
Read next
Greenhouses and covers For gardeners
DIY construction of a polycarbonate and plastic pipe greenhouse
Greenhouses and covers For gardeners
DIY construction of greenhouses from window frames and metal profiles
Greenhouses and covers For gardeners