
Choosing materials and greenhouse design for efficient crop production
9 min read
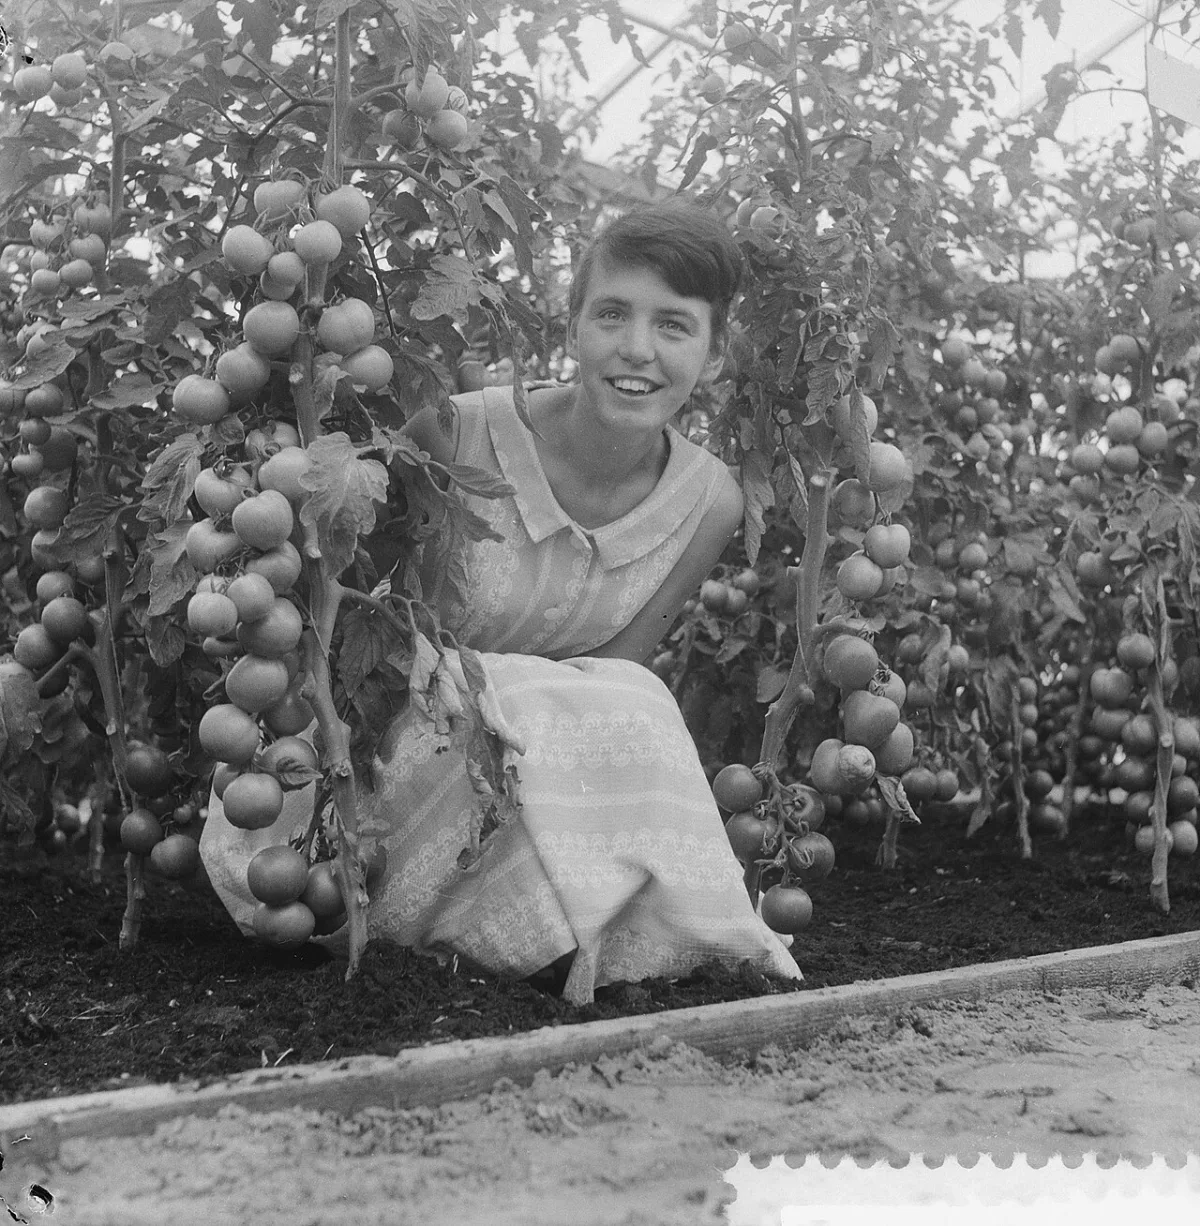
Choosing a cover: film, glass, or plastic
The correct choice of materials for a greenhouse directly affects the profitability of the farm. Strawberries, potatoes, and early vegetables grown in protected ground ripen several weeks earlier than in open-field plantations. This allows for earlier product sales and maximum profit.
Polyethylene film attracts farms due to its low cost, but it is short-lived and provides poor protection for transplants during frosts. Reinforced and stabilized films are more durable, however, they have lower light transmission. For optimal plant development, it is better to use light-converting films: they create a favorable radiation spectrum and scatter light, which helps plants photosynthesize even in cloudy weather.
Regular polyethylene film rarely survives the winter. Because of this, the soil in the greenhouse gets covered with snow and freezes. In the spring, an agronomist has to spend resources on artificial soil heating or delay the planting of transplants to a later period.
To create permanent covers, standard or artificial glass is used. The choice of a specific material depends on the structural strength requirements and the planned temperature regime in the winter period.
| Covering material | Minimum thickness, mm | Light transmission (at 16 mm thickness) | Application features |
|---|---|---|---|
| Standard glass | no less than 4 | — | Heavy material, requires sturdy frames; double frames are needed for negative winter temperatures. |
| Polycarbonate (plexiglass) | no less than 8 (up to 18 for negative winter temperatures) | 77% | Soft, plastic, and almost unbreakable material. Optimal for covering large openings. |
| Acrylic (plexiglass) | no less than 8 (up to 18 for negative winter temperatures) | no less than 86% | More brittle material, the strength of which decreases in freezing temperatures. Not suitable for large openings due to the risk of wind damage. |
Frame and layout: structural reliability
The main task of the structure is to maintain stable temperature and humidity. When designing, it is important to incorporate staff convenience and logistics from the start. The door width is calculated so that a garden cart can pass through the opening without obstruction.
- Wall height — no less than 1.5 m
- Service life of a wooden frame — about 5 years
- Cross-section of greenhouse timber — 50x70 mm
- Payback period of a light alloy frame — 5–8 years
The choice of frame material determines the durability of the greenhouse and its ability to retain heat. In practice, four types of load-bearing structures are used:
- Plastic. An expensive option, the advantage of which is extremely low thermal conductivity.
- Wood. An accessible, easy-to-work-with material with good thermal insulation. For construction, special "greenhouse timber" with two rabbets is used.
- Steel. A steel angle frame is assembled by welding or bolting. This is the strongest and most durable structure with an almost unlimited service life provided it is protected from rust. The main drawback is high thermal conductivity.
- Aluminum and light alloys (duralumin). Lightweight, strong, and corrosion-resistant frames that do not require maintenance. The high thermal conductivity of the metal is offset by the durability of the structure.
Do not treat a wooden greenhouse frame with standard outdoor wood preservatives. In the conditions of an enclosed space and high temperatures, they will begin to release gases poisonous to plants within just a few months.
First and foremost, when planning a greenhouse, it is necessary to ensure the guaranteed removal of excess heat. This means there must be very large transoms — at least a quarter of the greenhouse area, and preferably on the upper part of the roof, since that is where the hottest air collects, as there is an excess of it on hot, sunny days. You can also use perforated film for the greenhouse roof. Ideally, the air temperature inside should never exceed 40 °C. For very sunny and hot summers, it is necessary to provide for the possibility of shading — a curtain made of lightweight material (for example, agrotextile), which can be thrown over the greenhouse.
In cold and cloudy weather, we have the opposite task — we need to save heat. In this case, you cannot do without an automatic opener that will regulate the opening of the transoms. Moreover, a smart opener that could quickly and widely open all transoms during a sudden temperature rise in the greenhouse, open them slightly during mild heating, and close them when it gets colder. And at the same time, it should be very reliable and fail-safe. Here, the best choice in terms of price-to-quality ratio is undoubtedly a hydraulic opener. You can entrust your greenhouse to it if you need to be away for a few days, and even in your presence, it will monitor the temperature.
A greenhouse requires maintenance. For this, you need:
- heating (in early spring and during frosts);
- ventilation (it is necessary to maintain reasonable humidity, as closed vents and doors combined with high temperatures in the greenhouse create ideal conditions for the reproduction of fungi and bacteria);
- plant and soil protection against pests;
- temperature control (opening during the day, closing at night);
- additional lighting (if necessary, using UV lamps).
The items listed above suggest that if you have decided to engage in greenhouse vegetable farming (or floriculture), you need to live close to the greenhouse (at least within easy reach) so that your efforts are not in vain.
9:99:99 994 №№ d d
The most common are hotbeds of a single-slope design. They are inexpensive and simple to construct. Their assembly does not require scarce materials.
To set up a hotbed, choose a well-lit location sheltered from the wind. Best results are obtained when the hotbed is placed on a slight slope facing south. In an open area, shrubs, trees, and fences can serve as protection from the wind.
You can additionally raise the temperature in the hotbed by 2-3 °C by installing a white flat rotating screen nearby that reflects sunlight onto the hotbed. This is equivalent to moving the site 500 km to the south.
Hotbeds are convenient because they are easy to assemble and disassemble; they can be freely moved around the plot depending on where you plan to plant your transplants. If the climate allows, the film from the hotbed can be removed during the day and put back on at night, or in a dry, hot summer, you can opt out of using the film and allow the fruits to ripen under natural conditions.
A hotbed is a "small greenhouse" for growing low-growing vegetable crops: lettuce, radish, cucumber, zucchini, etc. The structure of a hotbed is relatively simple, and you can build one yourself even without being a professional carpenter. The traditional hotbed design is a pit 70 cm deep, filled with a soil mixture and covered from above with a hotbed frame.
First of all, you must make several hotbed frames. Suppose you have decided that your hotbed will be covered by four frames, each 150 by 100 cm in size. Then you need to dig a pit measuring 400 by 150 cm and 70 cm deep. In areas with high groundwater levels, the pit should be made less deep — 35 cm. The excavated soil should be placed around the perimeter of the pit, thus bringing the virtual depth of the pit to the initial theoretical 70 cm.
A layer of sawdust (3–4 cm) is poured onto the bottom of the pit, manure is placed on top of it, and then a soil mixture (soil with peat) is added. At the top of the pit, a frame of logs 10–15 cm thick is made, and the hotbed frames are placed on this frame. The northern side of the frame structure should be slightly raised.
The frames must lie at a slight slope so that rainwater can run off them. At the same time, the northern side of the frames should be higher. The method of fastening logs to each other is "democratic": if you can make a "half-lap joint," as carpenters say, do so; if you cannot, fasten them with nails—this is permissible, as in this case, the structure bears almost no load. The method of fastening frames to logs is the same; if you can "rabbet" them, do so; if not, nail on a strip or "use nails" again.
On the south side, a stop for the frames is made in the form of a rabbet or a slat attached to the frame. The pit for filling is dug 70 cm deep, and its walls are made with a slight slope so that the soil does not collapse.
The best biofuel for hotbeds is considered to be horse manure: it provides the most heat. If it is unavailable, cow, pig, or sheep manure can be used. To improve the "heating" qualities of manure, it is mixed with wood sawdust or leaves.
Manure for a hotbed must be prepared in advance, starting in autumn, by placing it in a pile and compacting it thoroughly (so that the manure does not heat up prematurely).
A week before you intend to put the manure into the hotbed, it is heated up:
- it is turned with a pitchfork into a loose pile up to 2 m high;
- after a few days, the manure will self-heat, steam will rise above the pile, and a distinct smell of ammonia will appear.
The time has come to load the manure into the hotbed. Cooler manure from the outer parts of the pile is placed at the bottom, and hotter manure is placed closer to the top layer. Overheated manure (it is grey in color) should not be put into the hotbed. Filled to the top with manure
Read next
Greenhouses and covers For agronomists
Siting of greenhouse structures and selection of polymer film covers
Greenhouses and covers For gardeners
Design and structural features of modern winter gardens
Greenhouses and covers For gardeners