
Rules and regimes for hardening off transplants before planting in open soil
4 min read
Seedling hardening regime: light, air, and humidity
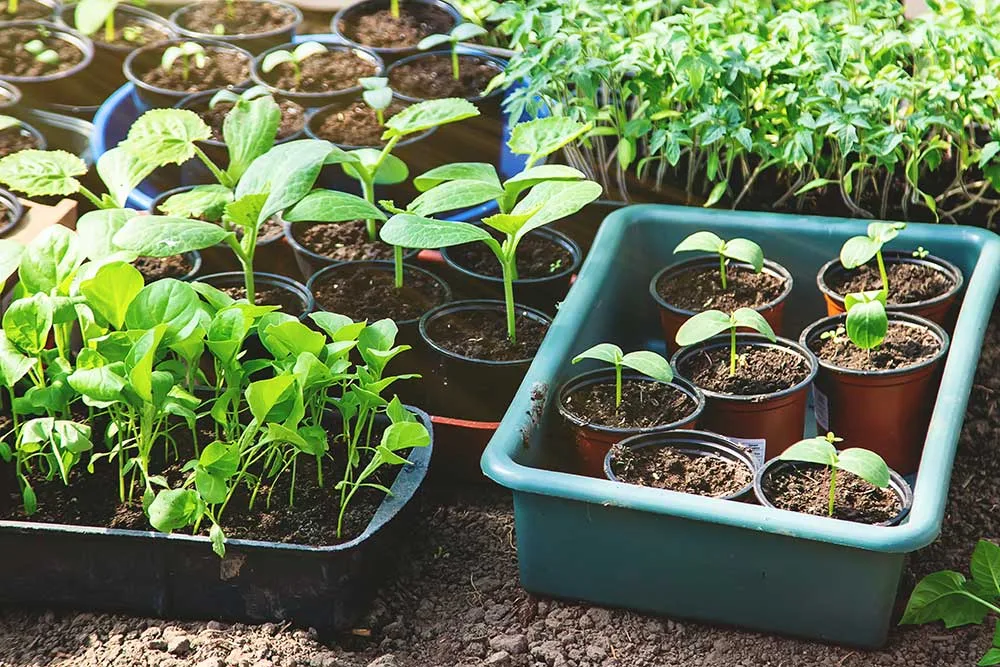
To ensure transplants quickly establish in the open soil and do not drop their leaves, they are switched to a special growing regime 10–12 days before planting. During this period, it is important to gradually bring greenhouse conditions closer to field conditions. Proper hardening helps plants form a powerful root system and adapt to direct sunlight.
- Hardening period — 10–12 days
- Optimal air speed — 1.5 m/s
- Leaf temperature reduction — by 1–2 °C
- Yield increase in the field — up to 2 times
Ultraviolet rays play a key role in light hardening. Ordinary glass completely absorbs the UV spectrum, which is why transplants without prior preparation instantly get sunburned in the field. Special fluorescent films, which convert blue-violet light into red to accelerate photosynthesis, are also not suitable for this stage — they are used only for growing commercial vegetables.
| Cover material type of the structure | UV transmittance, % |
|---|---|
| Ordinary transparent polyethylene film | 55–70 |
| Stabilized film | 26 |
For high-quality plant preparation, it is necessary to gradually reduce irrigation, avoiding wilting, and open ventilation openings. Complete removal of the film in the pre-planting period guarantees better survival and increases the future harvest. Externally, hardened transplants are characterized by a shortened, sturdy stem, developed roots, and fleshy dark green leaves with a waxy bloom in cabbage or pubescence in tomatoes.
Do not prolong the rigorous hardening regime for too long. Excessive stress will lead to severe growth inhibition of the transplants, which will continue in the field, ultimately reducing the overall yield.
If the greenhouse structure does not allow for the complete removal of the film, organize two-way ventilation for cross-ventilation and gradual exposure to sunlight throughout the day. In this case, the optimal air speed is 1.5 m/s. Compared to a speed of 0.5 m/s, such airflow reduces leaf temperature by 1–2 °C, increases the ratio of root mass to leaf mass, and improves transplant survival. An airflow speed of 3 m/s, conversely, inhibits plant growth.
The final touch of hardening is top dressing with mineral fertilizers with high potassium content. This significantly increases the suction power of the roots after transplanting to the field.
Technologies for pre-sowing seed preparation
Rapid and uniform emergence largely depends on the proper preparation of the seed material before sowing. Different crops require an individual approach: from thermal disinfection to washing off essential oils. Adherence to the technology reduces the seed germination period several times over.
- Cabbage (various types): disinfect seeds in hot water, soak in a nutrient solution, then slightly dry until flowable and proceed to sowing.
- Onion (from black seeds): disinfect in hot water, soak, and germinate. When sowing with dry seeds, emergence occurs much later — in 10–18 days.
- Carrot: prepared material provides emergence on the 5th–7th day, while dry material — only on the 10th–18th day. The preparation process includes disinfection in hot water, 12 hours in a nutrient solution, and 2–3 days in damp cloth until single sprouts appear, after which the seeds are stored in a refrigerator and dried before sowing.
- Celery: due to slow seed germination (12–20 days), the crop is propagated by transplants. Before sowing, seeds are necessarily soaked in warm water to remove essential oils that inhibit germination.
- Dill: provides emergence on the 8th–10th day if seeds are pre-washed with hot running water.
- Cucurbits (cucumber, zucchini, summer squash, pumpkin): go through the stages of warming, disinfection in a potassium permanganate solution, treatment with physiologically active substances, and germination.
To protect cucurbits from downy mildew, which is transmitted mainly through seeds, it is recommended to perform dry sanding of the seed material with starch after warming.
- Pour warmed seeds into a hermetically sealed metal jar.
- Add a few pinches of starch to the jar.
- Shake and rotate the jar with circular motions for several hours to remove the pathogenic film.
- Pour out the mixture and separate the cleaned seeds from the starch.
Read next
Greenhouses and covers For gardeners
Cultivation and hardening regime for seedlings to increase yield
Greenhouses and covers For gardeners
Technology of growing early white cabbage transplants in protected soil
Greenhouses and covers For agronomists