
Design and advantages of lean-to greenhouses on a summer cottage plot
18 min read
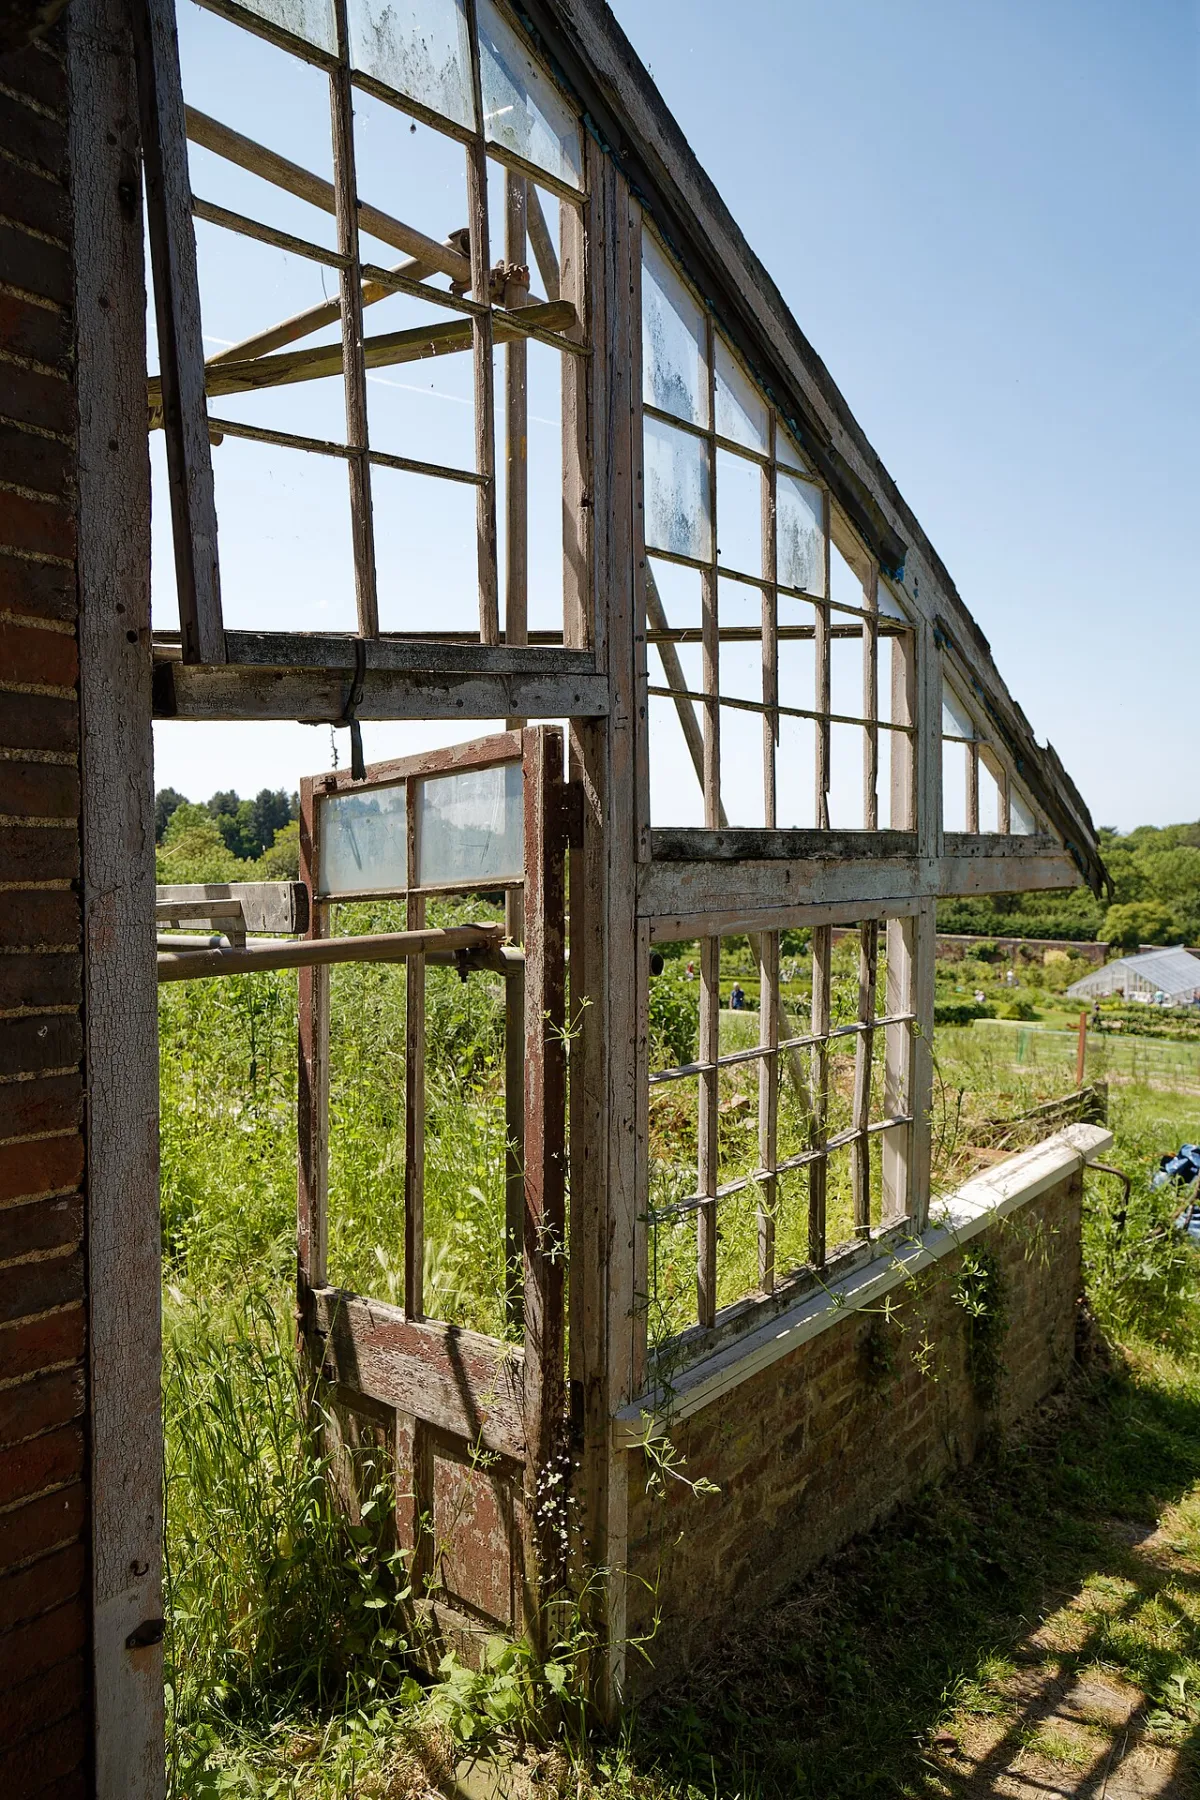
The design of a greenhouse can be pyramidal. Its advantage is that it warms up faster than a standard one. This is an important factor during short daylight hours. The resulting condensate and water run off along the inclined surfaces.
A lean-to greenhouse is very convenient. The optimal version is a single-slope greenhouse against the south side of a house or shed. Its advantages lie in the fact that the wall of the outbuilding is used as a load-bearing element of the frame, protecting against cold northern winds. The greenhouse can be equipped with electric or water heating, as well as an entrance from the building.
A single-slope greenhouse can be used throughout the year. Frames measuring 1060х1600 mm are used for it. The roof slope depends on the local climatic conditions. The inclination angle should be 20-30°. The wall of the house (or another outbuilding) adjacent to the greenhouse should be covered with a waterproofing layer of roofing felt, film, or two to three layers of water-resistant enamel or paint to protect against dampness. It is even better if heating pipes run inside the wall or a radiator is installed.
The greenhouse frame is made of wooden beams or metal angles. One side rests on the wall, and the other on a small plinth foundation made of brick, stone, or wood.
| 12 = = \ 1 and 4 TIMES 5 IA s tn ri E No —a ,2 3 4 ER Ey 3:0 >) B 3 < A B 5 $7 | 9 RR RA: r G r 72 k E” s 8 7 4 A B G Lean-to greenhouse: A — cross-section: 1 — base with a 2-3% slope; 2 — foundation; 3 — wall waterproofing; 4 — water drainage visor; 5 — lifting frame; 6 — corner cross beam; 7 — wall frame beam; B — lifting frame: 1 — frame; 2 — batten; 3 — support; 4 — film; 5 — lower frame beam; 6 — longitudinal batten; 7 — vertical frame; 8 — overlapping frame; 9 — longitudinal beam; 10 — middle beam; C — frame attachment: 1 — batten; 2 — film; 3 — lower beam; 4 — frame; 5 — plywood facing strip; 6 — middle beam; D — lifting frame attachment: 1 — frame; 2 — visor; 3 — visor mounting strip; 4 — rail; 5 — wall frame beam; 6 — lower beam; 7 — middle beam A portable small-sized greenhouse is very advantageous, with which you can carry out three to four crop rotations, extending the period of fresh vegetable consumption. A portable greenhouse allows you to accelerate the ripening of many crops and significantly increase the yield.
Lean-to greenhouse: 1 and 10 — upper and lower sleepers; 2 — posts; 3 — shelf; 4 and 7 — water and heating pipes; 5 — radiator; 6 — rack upright; 8 — rack; 9 — base;
11 — glazed slope; 12 — ventilation pipe
For a greenhouse with an area of 16 m² and dimensions of 6x3 m, 2x2.2 m, you need 96 m² of polyethylene film. Such a greenhouse is easy to build yourself from a metal structure and polyethylene film.
The advantage of a portable greenhouse is that tillage, sowing, and plant care can be carried out before installing it on the garden bed, which is much more convenient than working inside the greenhouse. In addition, such a greenhouse can be made lower.
When there is still snow on the ground, the greenhouse can be used for growing greens. Then it is moved for growing seedlings, first of cabbage, and then of tomatoes and cucumbers.
Transplants in a film greenhouse receive enough light and acclimatize better than indoors. This way, you can obtain vegetables until late autumn or until severe frosts.
A mobile greenhouse is a more convenient version of a portable one. The base of such a greenhouse is mounted on runners made of water pipes with a diameter of 5.08 cm. Every 4 m, 2 m high uprights are welded to the runners.
2 2 1 = D = — oeneiy =” o 2“ ЪеI E 7 | =.
AE Ir 47 > 4 25 5 I | < y [25 6 0 9 < 7 8 3 3 7 Mobile greenhouse: 1 — connecting gutters; 2 — roof arch; 3 — uprights; 4 — entrance door; 5, 6 — longitudinal bracing struts; 7 — runners; 8 — tow eye; 9 — film end apron; 10 — reel Tin gutters are attached to the uprights from above to collect water and provide structural strength. The roof arches are connected by gutters, and each pair of adjacent section arches is pivotally fixed in the gutter area.
The end arches are fixed rigidly. At the ends, at a height of 80 cm, a pipe is welded to connect the sections; it also functions as a greenhouse tie. A rail is attached to the pipe, and a film sheet is attached to it. The sheet has a reel at the bottom, onto which the film is wound.
Doors in such greenhouses are made on the side wall.
The structure is moved using a winch or a tractor.
Each of the listed types of greenhouses has its own advantages. Decide for yourself which one suits you best.
Since a greenhouse is usually a stationary structure (unlike hotbeds), we do not advise using any material that comes to hand during construction. In addition to purely architectural and aesthetic shortcomings, it is impossible to create optimal conditions for plant development in such greenhouses.
Do not spare the time and resources to build a greenhouse structure that meets the most demanding requirements.
DESIGNS OF HEATING, VENTILATION, AND IRRIGATION DEVICES FOR INDIVIDUAL GREENHOUSES
Individual spring greenhouses, as a rule, are built without technical heating systems. The temperature regime necessary for plants in them is maintained thanks to solar energy.
It is possible to significantly increase the efficiency of using solar energy by accumulating heat in the soil on clear, sunny days.
Heat accumulation in the soil and operation of the solar installation
To protect plants from night frosts and extend the growing season, use an under-soil heating system. During the day, warm air from under the greenhouse canopy is forced by a fan into underground pipes, where it transfers heat to the soil. At night, the process runs in reverse: the accumulated heat from the soil warms the cooling air, which allows the temperature to be kept higher than the outside temperature.
- Pipe diameter — 10–20 cm
- Installation depth — 40–50 cm
- Clay layer thickness — 20 cm
- Fan power — 25–30 W
- Night temperature increase — 4–5 °C
- Solar installation capacity — 500–800 W/m²
For more intensive air heating, the system is supplemented with a solar installation featuring a solar collector. Solar radiation passes through the protective glass of an aluminum housing with an area of 2 m² and heats water or evaporates freon in eight heat pipes. The heated heat carrier rises to a heat exchanger, is cooled by the air passing through it, and then returns to the heating zone under the action of gravity. For effective heat exchange, the pipes in the heater zone are equipped with flat fins, and in the heat dissipation zone — with annular ones. The heat-absorbing surface of the collector is covered with matte black paint.
Assembly and installation of a homemade collector
The main part of the solar installation — a solar collector — can be assembled on your own. The housing is made of wood, and the internal radiator is assembled from copper or brass tubes with high heat dissipation.
- Build a box from planed boards measuring 1500 × 750 × 100 mm and cut a rebate into the upper edges for installing the glass.
- Line the bottom and inner walls of the box with foam plastic about 20 mm thick to prevent heat loss.
- Paint the outside of the box with any outdoor paint. Cover the inner cavity with matte black oil paint, mixing 1 liter of paint with 1/10th of a piece of laundry soap previously dissolved in water.
- Prepare 7–8 O-shaped sections from copper or brass tubes with an inner diameter of at least 15 mm.
- Cut strips of copper or brass for the angle plates. Stack them, clamp them in a vice, drill holes to fit the diameter of the tubes, and bend them at an angle. Slide 15–20 such plates onto the ends of each O-shaped tube.
- Solder the plates to the tubes at the hole locations using LETI-120 active flux, then connect all sections into a single coil using connecting tubes.
- Solder self-centering adapter bushings onto the radiator outlets and connect the collector to the water pipes using couplings.
- Install the glass using putty. On the outside, nail metal strips to the edge of the box to secure the second glass pane.
When bending O-shaped copper or brass tubes, slip sections of larger diameter steel pipes over them as levers. This will prevent the soft metal from bending in other places.
To install the glass in an airtight manner, prepare a special putty according to the recipe provided in the table below.
| Component | Content, mass parts |
|---|---|
| Sifted chalk | 50 |
| Dry iron oxide red | 30 |
| Natural drying oil | 18–20 |
Place the collector on a stand in a wind-sheltered area so that at noon its surface is perpendicular to the sun's rays. To maintain mobility when adjusting the tilt angle, connect the collector to the pipes using two sections of rubber hose.
The heat accumulator is an ordinary 20 L barrel placed in a wooden box. It is necessary to provide it with good thermal insulation. To do this, a cross-shaped wooden stand is placed on the bottom of the box, and all free space is packed with felt or cotton wool. The barrel is placed in the box on the stand, and all free space between the barrel and the box walls is also filled with cotton wool, with the insulation layer thickness being at least 80 mm everywhere. The removable lid of the barrel is insulated with a cotton mattress (also 80 mm thick).
Five pipes connect to the barrel: two from the solar collector, two from the radiator located in the hotbed or greenhouse, and one pipe from the water supply.
When heating a greenhouse or hotbed with the solar installation, it is necessary to make pipe inlets and install several plate radiators inside. The type of radiators, their number, and the greenhouse temperature are determined experimentally. The flow of heated water is regulated by a valve.
All pipes running from the solar collector to the heat accumulator and from there to the greenhouse must be thoroughly insulated. To do this, they are wrapped in felt or cotton wool (about 50 mm thick), covered with roofing felt on top, and secured with wire.
For emergencies, as sunny weather is not guaranteed, it is worth providing for the installation of a backup electric heater.
In winter and early spring, even during the daytime, solar energy is clearly insufficient to maintain a positive temperature in the greenhouse, so a heating system must be provided.
If it is possible to constantly monitor the temperature in the greenhouse, a furnace heating system can be installed. One of the possible designs is shown in the figure.
This furnace is designed for heating a greenhouse with an area of about 15 m? and consists of the furnace itself, a horizontal flue, and a chimney. The flue, which runs under the shel-
The thickness of the walls ensures good heat accumulation. The furnace is fired with wood or briquettes.
A greenhouse can also be heated using water heating. To do this, a water boiler is installed in the greenhouse vestibule. Hot water from the boiler flows through a pipe with a diameter of 76 mm, laid under the ridge of the structure with a slight slope towards the manifold, where it is distributed into four heating pipes with a diameter of 57 mm located under the shelving. Near the vesti-
4 1 2 3 C alii | Ya y y | nin Y y 7 PRIL RRRRRRRIRRRRRRRIRARIR,
Water heating in the greenhouse: 1 boiler; 2 — heating pipes; 3 — hot pipe; 4 — return pipe bule, the heating pipes connect back into a manifold, and the cooled water returns through the return pipe to the boiler for reheating.
Water circulation in the system is ensured by installing an expansion tank with a capacity of 20-30 l at the highest point of the greenhouse, connected to the supply pipe. Filling the system with water is also carried out through the feed tank. A water heating system is simpler and more reliable in operation compared to a furnace one.
Various heaters can be used to heat the air in the greenhouse, including those running on liquid and gaseous hydrocarbon fuels, as well as electric heating devices.
Domestic gas stoves running on liquefied gas can be used as an emergency heating system.
For heating a greenhouse with gas, a tabletop gas stove equipped with a 5 l cylinder is most convenient. This stove and cylinder have a low weight. During the day, they can be used for household needs, and at night they can be moved into the greenhouse. The stove is placed in the middle of the greenhouse in the aisle, and a metal sheet is placed on it. The necessary gas supply to the burner is determined experimentally. The burner flame should be such that the temperature in the greenhouse at night is 4-5°C higher than the outside air temperature.
Kerosene lamps or kerosene stoves can be placed in the greenhouse aisle. Metal plates measuring approximately 40x40 cm are placed above them on trivets (a ring on three legs) bent from wire, which contribute to faster and more uniform heating of the air in the greenhouse.
Flameless or catalytic combustion heaters are much safer in this regard. Their operating principle is that the vapors of liquid fuel (gasoline or alcohol) are oxidized by atmospheric oxygen in the presence of a catalyst directly on the surface of the heating element. Heat is released not by combustion, but by a chemical oxidation reaction.
Secondary heat, which is lost when heating houses, for example, by gas boilers, can also be used to heat greenhouses, as their design is imperfect. Therefore, many rural residents use the heat escaping into the "chimney" to heat lean-to greenhouses. They use it to heat water, which is supplied to the greenhouse heating system.
If the conditions of the electrical input are normal and allow for connecting current consumers with a power of up to 2 kW, household electric heating appliances can be used. Various electric fan heaters are very convenient in this case.
As heating elements, only those electrical appliances in which the heating coil is enclosed are recommended. It is preferable to use oil-filled radiators or electric lamps suspended over the aisle at a distance of 1.5 m from each other and at a height of 1 m above the surface of the bed. The total power of the lamps should be no more than 500 W per section.
Especially for individual greenhouses, an electric heating wire has been developed, which can be used to heat both the soil and the air in the greenhouse. The UNT-1 or UNT-2 electric heating device consists of an heating wire of the INVSV type with a length of 66 m, an automatic circuit breaker, and a two-pole socket with a grounding contact. The device power is 1 kW.
When installing heating wire in the soil, the work should be carried out in the following order:
— excavate a pit 400-500 mm deep;
— lay a layer of expanded clay or crushed stone 40–50 mm thick and a layer of sand 50 mm thick;
— at the end walls of the pit, install wooden templates made of 40x40 cm beams with slots spaced every 100 mm;
— lay the heating wire in accordance with the diagram;
— cover the installed wire with a 50 mm layer of sand or pour a 30 mm layer of cement solution;
— on top of the sand backfill (or cement screed), spread a layer of nutrient-rich soil 250-300 mm thick.
The strands of the heating wire, as well as the points where it connects to the power supply cable, must not touch each other.
When installing the heating wire for air heating, it is necessary to make and secure support hooks on the greenhouse walls and lay the wire on them. The distance between the hooks should be 800-1000 mm horizontally, 100-120 mm vertically, and 200 mm from the soil surface.
Heating wires of the POSKhV, POSKhP, and POSKhVT types are widely used for electrical heating of air and soil in hotbeds and greenhouses. The maximum permissible heating temperature for POSKhV and POSKhP wires is 70 °C, and for POSKhVT it is 105 °C.
Recently, film heaters with heating elements have been widely used. They consist of a steel casing covered with insulating enamel, onto which a paste-like mass of resistive material is applied using pneumatic spraying.
[| G} No I Ya O PI O OO p an V I 1 O G OY SO OI I OO 1 OO, No 4 I I ONI V 117 Ya O 1 OO 3 «4 KE A.E
Diagram of heating wire installation for soil heating:
1 — greenhouse contour; 2 — wooden templates; 3 — heating wire; 4 — connection; 5 — connecting wire o RA == 2 7 _\_\. 3 2 4
Diagram of heating wire installation for air heating: 1 — greenhouse wall; 2 — connecting wire; 3 connection; 4 — heating wire; 5 — hook
The electroconductive film is covered on top with heat-resistant electrical insulating varnish or epoxy resin.
Heating elements operate under high-temperature conditions, so their resistance to high temperatures determines the device's service life. |
Special chromium-nickel alloys (nichromes), iron-chromium-aluminum alloys, and non-metallic heaters (graphite, carbon, carbide, etc.) meet these requirements best.
At operating temperatures up to 300-360 °C, galvanized steel wire is used, which is a cheap and accessible material. However, heating elements made from it have significant drawbacks: they are prone to oxidation and rust, have a large temperature coefficient of resistance, and exhibit non-standard electrical properties even within the same wire brand. Elements made of galvanized steel wire are used for soil heating and air heating in hotbeds and greenhouses.
Materials used for insulating heating elements must possess good thermal conductivity in addition to electrical insulating properties, which ensures a minimal temperature drop between the heating resistance and the working surface of the element. These materials must maintain high insulating qualities both in a cold state and at high operating temperatures and high humidity.
Electric heating elements are insulated with mica, asbestos, porcelain, or quartz sand. For the insulation of open heating elements, shaped ceramics are used, which simultaneously serve as a frame for the heater.
In electrode heating, the materials from which they are made are of great importance. Iron electrodes are used only when heating water for heating systems.
The industry produces electric heating elements that are sealed, enclosed, or open. Sealed heaters do not oxidize or get dirty; they are protected from mechanical damage, electrically safe, and transfer heat without sharp temperature drops via convection. The most common types are tubular electric heaters (TEHs). They are used in water heaters and electric air heaters.
A tubular heater consists of a metal tube, a nichrome coil, filler, terminal pins, and sealing bushings, and has nuts for mounting the heater. Magnesium oxide magnesium is usually used as a filler because it conducts heat well and is a reliable insulator. The coil in such a heater hardly oxidizes, which ensures a service life of up to 10,000 hours. Heater tubes are made of ordinary steel, stainless steel, and brass. TEHs with ordinary steel tubes are used for air heating, while those with stainless steel and brass tubes are used for water heating.
'Tubular heaters should only be used in the environment for which they are intended. If an electric heater is intended for use in water, its entire active part must be submerged in water so that the parts do not touch each other. The terminals should be insulated from heat radiation. | |
Tubular heating elements are designed for nominal voltages of 12, 24, 36, 48, 55, 60, 127, 220, and 380 V; they have nominal power ratings of 50, 65, 80, 100, 125, 160, 200, 250, 315, 500, 630, 800, 1000, 1250, 1600, and 2000 W; and feature outer tube diameters of 7.9, 12.5, and 15.0 mm.
Enclosed electric heating elements are placed in a protective shell that guards them against mechanical damage without hindering air access. Heat transfer is achieved through convection.
Open electric heating elements transfer heat through convection and infrared radiation.
Greenhouse electric heating: assembling a simple heater with your own hands
Heating automation allows for maintaining an optimal temperature regime in a lean-to greenhouse without round-the-clock monitoring by the owner. Electric heating systems are convenient because they are easy to automate using ready-made control circuits for greenhouses and hotbeds. At the same time, a reliable water heater can be assembled independently, saving on the purchase of factory-made equipment.
Electric heating minimizes manual labor. Installing thermostats and automation allows the system to react independently to external weather changes.
To create a DIY device, you will need components with clear specifications that are easy to find around the house:
- Tubular heating element power — 1 kW
- Heater source — Electric samovar
- Housing base — Old fire extinguisher
Assembly and connection of the heating circuit to the radiator are performed in the following order:
- Remove the top of the spent fire extinguisher housing and install a removable lid in its place.
- Mount the tubular heating element at the very bottom of the prepared housing.
- Connect two water pipes to the housing for communication with the radiator.
- Seal the pipe connections to the housing using rubber gaskets and nuts from water pipe couplings.
Read next
Greenhouses and covers For agronomists
Design and ventilation features of modern film greenhouses for seedlings
Greenhouses and covers For gardeners
Construction and operation of plastic-film hotbeds for protecting transplants
Greenhouses and covers For gardeners