
Technology for proper hardening of vegetable transplants before planting in soil
3 min read
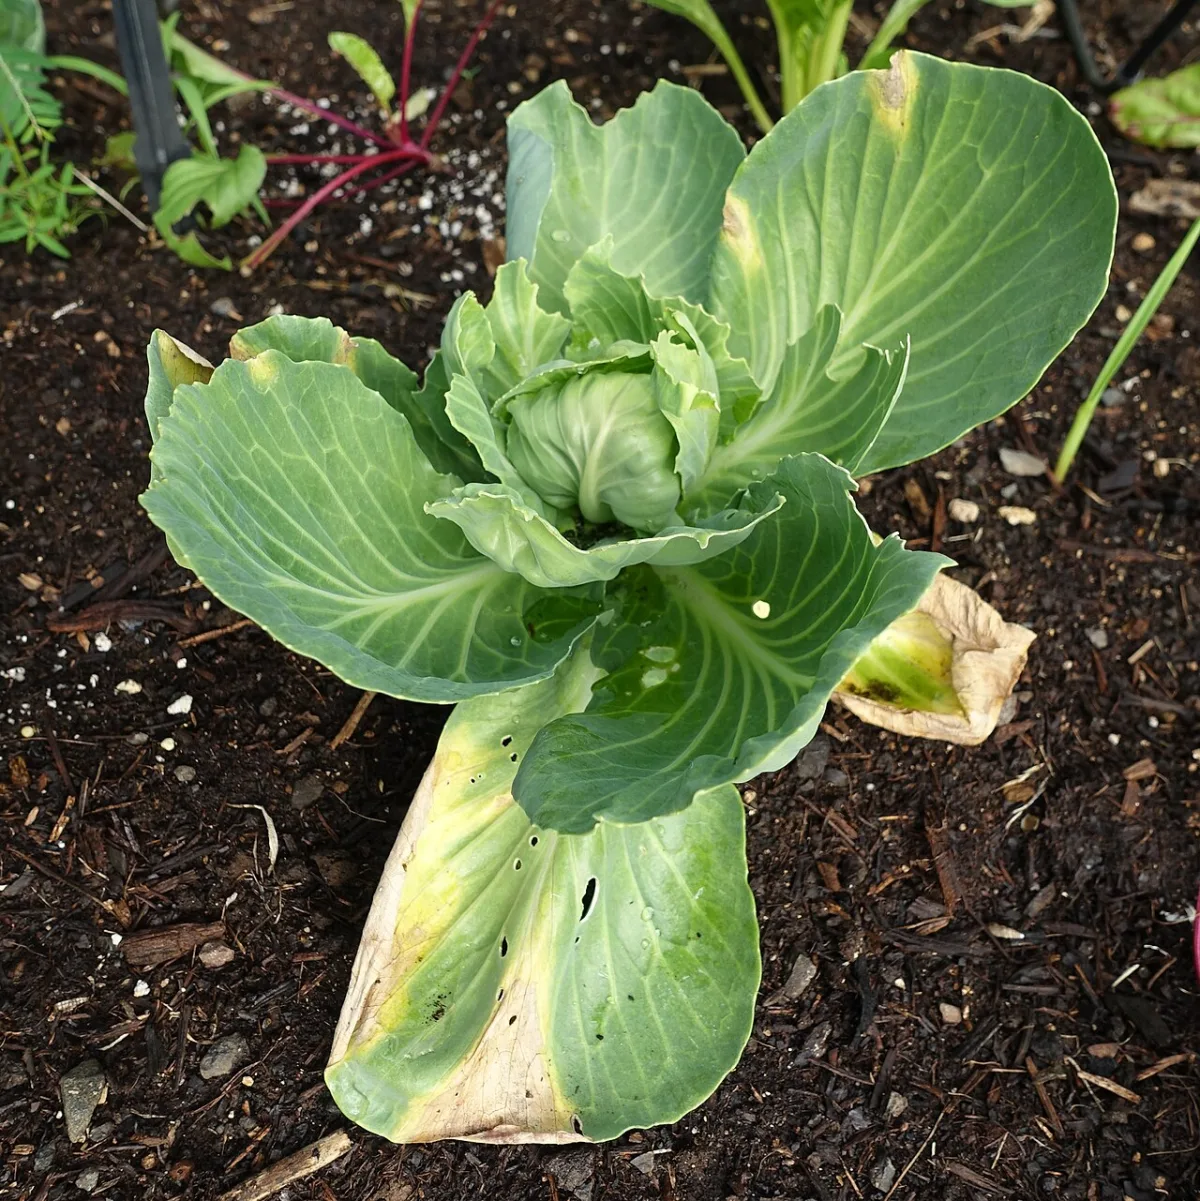
Planting transplants into open soil is always stressful for plants due to harsh ultraviolet light, wind, and sharp temperature fluctuations. Without preliminary preparation, tender greenhouse transplants will burn in the sun or break in the wind. Hardening adapts plants to field conditions: sugars accumulate in their tissues, increasing the concentration of cell sap and osmotic pressure. As a result, stems gain flexibility, leaves do not suffer from burns, and the root system quickly establishes itself in the new location.
- Start of hardening — 10–15 days before planting
- Stopping irrigation — 5–7 days before harvesting
- Heavy irrigation — 5–6 hours before harvesting
- Increasing ventilation and light exposure. 10 days before planting, start opening greenhouse vents or hotbed frames. In the first few days, open them for a few hours; after a week, leave them open for the entire day; and a few days before planting, leave them open at night as well, provided there is no frost risk.
- Restricting water consumption. Reduce irrigation, bringing plants to the point of slight wilting. Stop irrigation completely 5–7 days before harvesting. This will pause the vertical growth of transplants but preserve photosynthesis, allowing protective sugars to accumulate in the cells.
- Adjusting nutrition. Intensify phosphorus-potassium nutrition using mineral top dressing. At the same time, once hardening begins, completely eliminate nitrogen.
Evidence of poor hardening is the brittleness and fragility of stems. A high-quality, flexible stem should not break even if carefully wrapped around your fist.
Harvesting, transportation, and culling of transplants
5–6 hours before harvesting, provide heavy irrigation to saturate tissues with moisture and facilitate extraction. Remove the plants using a scoop or a special shovel for potted transplants. Try to keep the root system intact as much as possible.
If transplants were grown without nutrient cubes, dip their roots immediately after harvesting into a creamy clay-mullein mixture with the addition of pesticides against diseases and pests. The clay will reliably protect the roots from drying out.
For transportation, pack the transplants tightly into crates. Be sure to cover the crates with lightproof material to protect them from the sun and wind. Keep the delivered planting material in the shade until the very moment of planting to prevent wilting.
The survival rate of plants and the stable operation of planting machines depend directly on the uniformity of the planting material. Before planting, sort the transplants carefully. Cull diseased, underdeveloped, spindly specimens, and plants without an apical bud.
| Crop, transplants | Age, days | Feeding area, cm | Number of leaves, pcs. | Plant height, cm | Fresh mass of aerial part, g | Fresh mass of roots, g |
|---|---|---|---|---|---|---|
| Early white cabbage (potted) | 60–65 | 6x6 | 6–7 | 18–20 | 15–20 | 0.6–0.8 |
| Mid-season white cabbage | 35–40 | 6x6 | 5–6 | 18–20 | 10–15 | 0.4–0.6 |
| Cauliflower (potted) | 40–45 | 6x6 | 5–6 | 20–22 | 10–15 | 0.4–0.6 |
| Early tomato (potted)* | 60–65 | 10x20 | 8–9 | 20–23 | 20–25 | 2–3 |
| Tomato for mass planting** | 35–40 | 6x6, 5x6 | 6–8 | 16–20 | 13–16 | 0.6–1.0 |
| Pepper | 45–50 | 4x5 | 8–9 | 18–20 | 7–8 | 0.6–1.0 |
| Eggplant | 45–50 | 5x6 | 5–6 | 18–20 | 10–12 | 0.6–1.0 |
* Has two trusses with opening flowers on the first one.
** Has well-developed buds.
Read next
Greenhouses and covers For agronomists
Rules and algorithm for preparing transplants for planting in open soil
Vegetable growing For students
Significance and advantages of the transplant method in modern vegetable growing
Vegetable growing For students